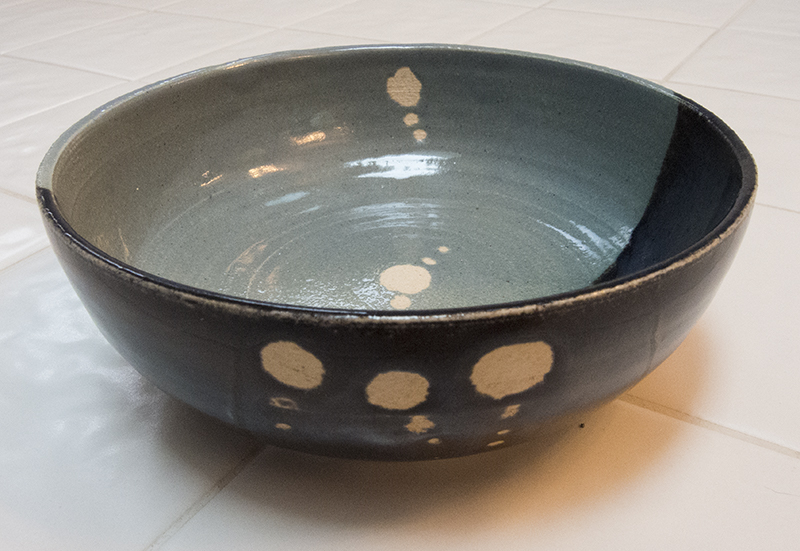
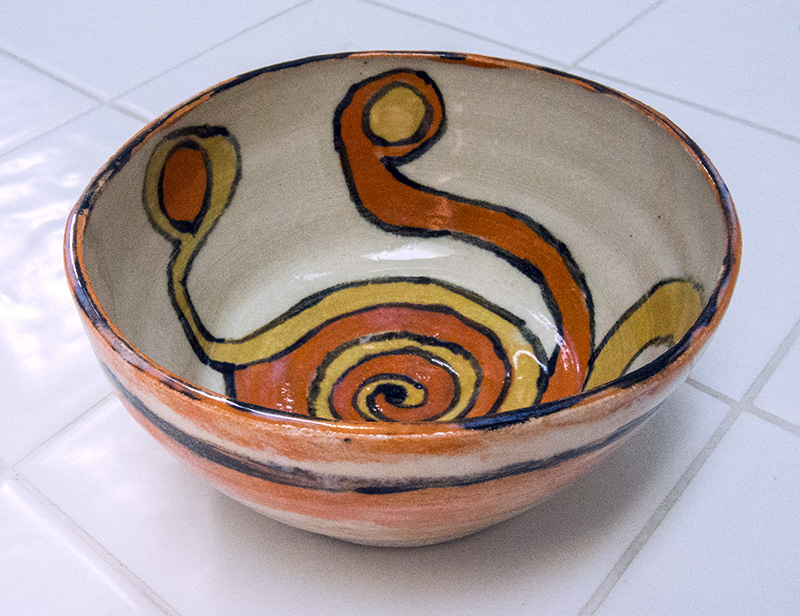
These two small vases came out perfect, but then I started experimenting with glazes (again). What can I say? Every project is a learning project for me since I still know so little about this craft I have taken on!
I used only glazes on these–no underglazes. I applied a white glaze as the base on both vases. I knew that the white glaze had become compromised in some fashion from another student’s mishaps with it. If you look closely, you can see tiny brown specks in the glaze. Those didn’t bother me as much as they bothered her, so I went ahead and used it anyway. Apparently we have to use up the entire (almost full) bucket before the studio monitor will make more. Someone’s got to use it–might as well be me. Anyway! Then I poured some sapphire blue underglaze into a small plastic bottle and fitted on a cap that had a small tube protruding from it for squeezing out the underglaze. I used a medium-sized tube, so it came out very thick. The result was the lefthand vase. Then I got started on the righthand vase. The green went awry because it was much more watery than the blue. I had to incorporate drips into my design, not by design. Oh well. A more advanced student stopped by to investigate and told me that the green is watery (yeah, got that) and that I would have better luck scoring the clay first, then using a thinner tube to squeeze out the underglaze. It’s a good thing that there will be more pots to experiment on.
The other thing I discovered about the tube method for painting on glaze is that the glaze dries in the tube very quickly and jams up the tube. The advanced student suggested having twisty tie wires handy for reaming out the tubes. Another lesson learned.


