It turned out to be a busy year. Lots of making, lots of selling. Of pottery. Because this is a blog where I document my progress as a ceramic artist, I feel I need to catch up some. So, here is a walk through some of the pieces I made this year, most of which are now gracing the homes of other people. Many thanks to those who appreciate my work, providing me with encouragement and validation by taking a piece home.
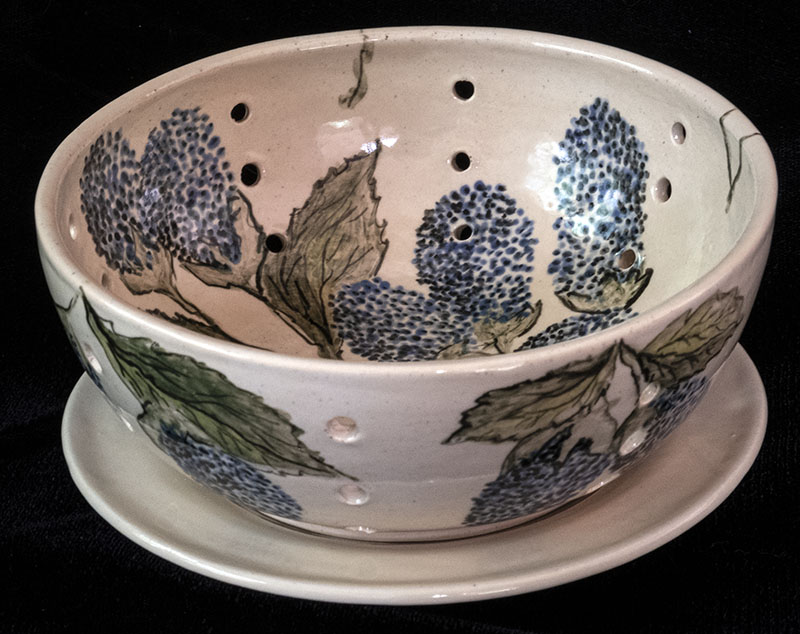
Well, I had a good cone 6 white majolica glaze going. And then I monkeyed with it. Not a good idea, especially since I did so in a way in which I knew better than to do. It was then too thin and started crawling (i.e., not covering the clay in some spots) and it began breaking up my underglaze designs. And to add insult to injury, I used a hybrid clay mix that probably also contributed to my woes. The clay body and the glaze probably did not have compatible shrinkage rates. This is all I have to show for a month’s worth of work and some of these pieces are refired.
At the same time, I was getting used to my new (old) full-sized kiln. Big learning curve after firing for a year or so in a small test kiln. It took me some research and three firings to finally get the temperature even throughout the kiln.
So now I need to test and retest a new batch of majolica on white stoneware in the correctly firing kiln. And so go the trials and tribulations of a still learning potter.
What we have here are three pasta bowls, two herb stripper bowls, and a vase. Back to the wheel, although I may do some refiring of five other pasta bowls and a couple of other things. At the very least, they will serve as heat absorbing chunks of clay for new work placed nearby.
I made some pieces in high-fire clay a couple of years ago with the idea that I would seek an opportunity to do an atmospheric firing of some sort. After all, I am a student at a college that has a pretty impressive kiln yard. But then Covid hit and that was the end of that for a long time. But I kept most of the pieces in reserve for just in case.
I haven’t taken any of the atmospheric firing classes ($$$) because I don’t really see this as my aesthetic moving forward and prefer to concentrate on the electric kiln, which will be my mainstay. But finally my opportunity for a free firing came. I jumped on the chance to get in on a wood firing.
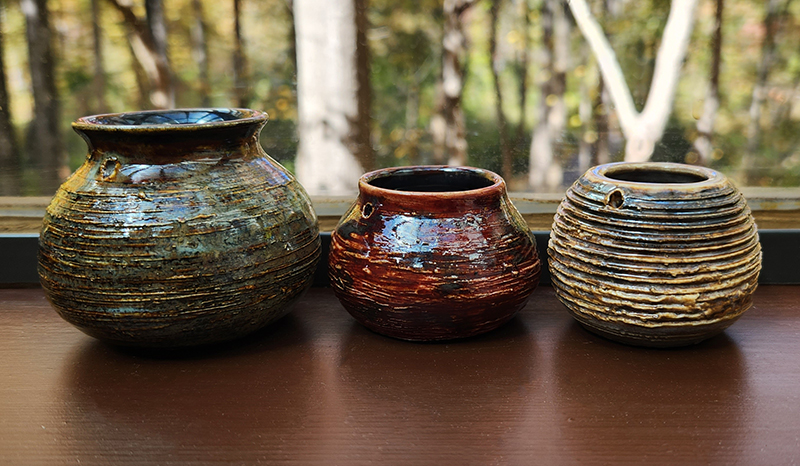
Here are my results:
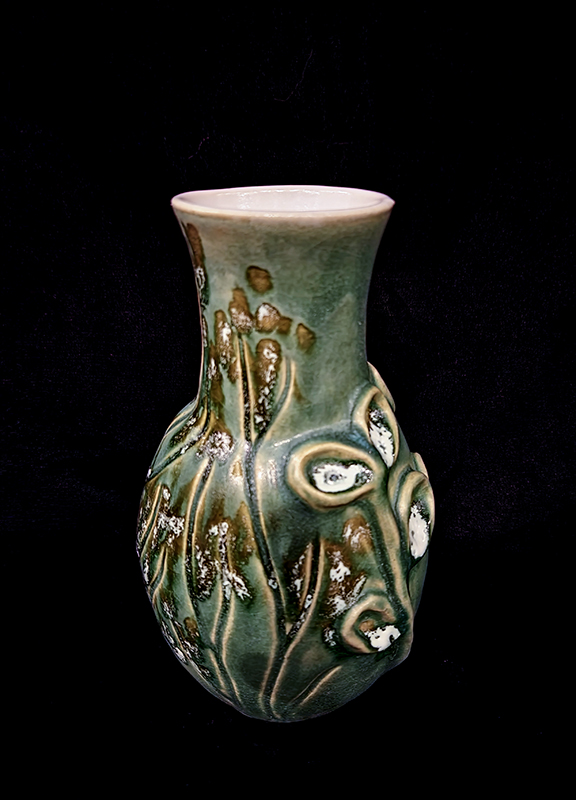
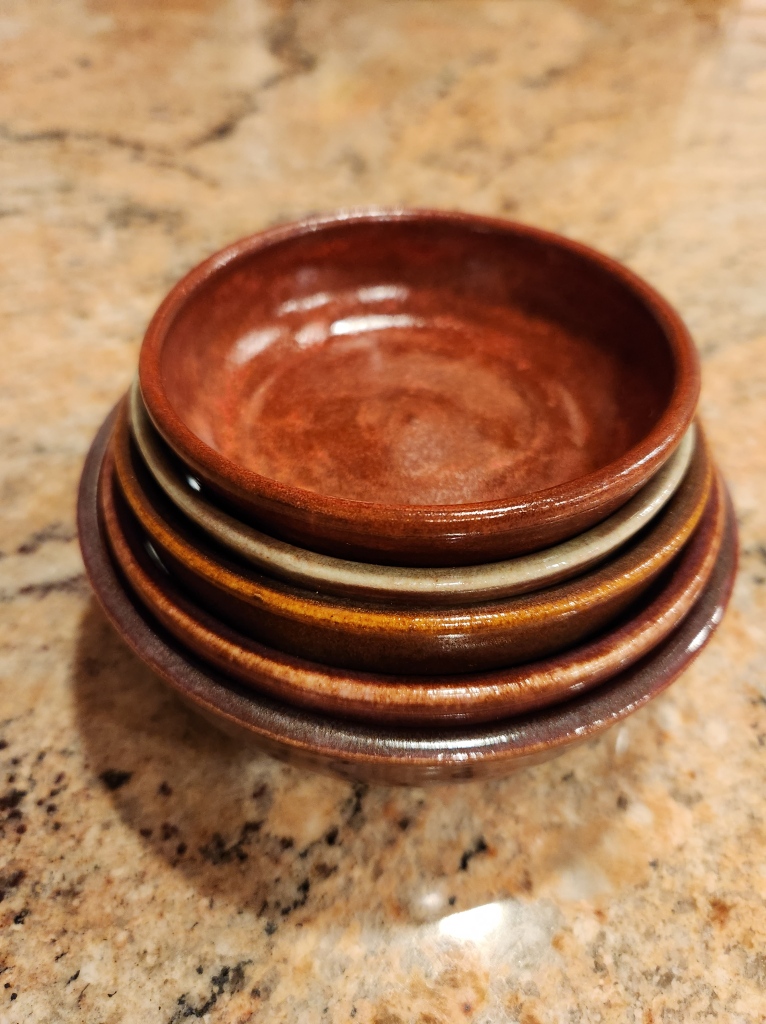
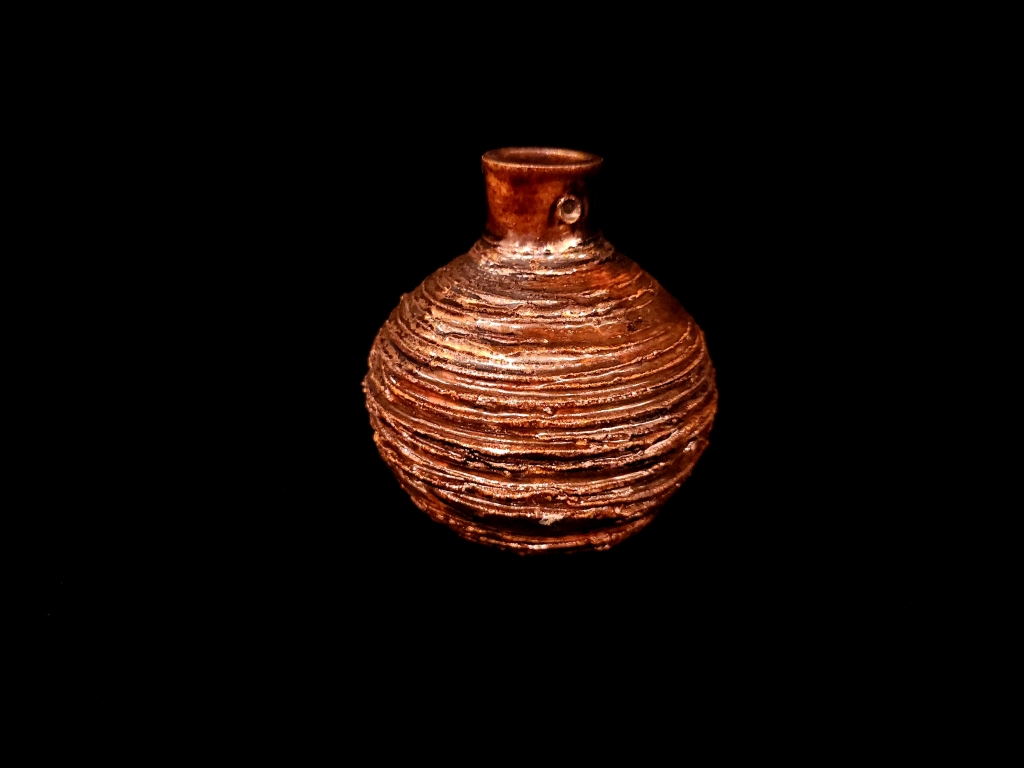
This smallish vase is stoneware with porcelain slip. I added some glaze that would produce a copper red in reduction. Since reduction in woodfire is apparently hit or miss, I was not sure of the results. But the vase apparently did get a bit of oxygen starvation because there are flashes of red here and there on the outside and a good dose on the inside of the pot. Okay. Not a bad result.
Next we have this mid-sized bowl. The first thing I noticed was that it was no longer round, having warped quite a bit. I think this is a feature of woodfiring at high temperatures because I see other people’s woodfired pieces also exhibiting warpage. Probably the bigger the piece, the more likely to warp. Also, I think it depends on where the piece is in the kiln. This bowl was near the front of the kiln where the wood was getting shoved in and where the temperature was the hottest. The other thing I noticed was that it had a fair amount of ash drip on the footring. I always hear woodfirers talking about having to grind. Now I know why. Sigh.
I don’t think this bowl can be used for anything but display. The glaze on the inside crystalized into crackled glass, making for a beautiful look, but not something you would want to put food into.
I made this butter keeper in a community center class where the instructor tends to introduce interesting projects that have culinary (or otherwise) usefulness. I had never heard of a butter keeper, whereby you stuff soft butter up into the open part of the lid, place some water into the bottom, and put the butter in the lid into the pot. The butter will apparently stay fresh on the counter for weeks. Soft, spreadable butter whenever you want it. I wonder if it works…
But back to woodfiring pottery…I put some sort of glaze on this one, but I have no idea if the black stuff is the result of the glaze or wood ash doing its thing. I fired these two pieces separately. The inside is very funky looking.
This one is a garlic keeper on which I put some sort of slip from a big bucket. I guess the slip caught the heat and produced the red flashes. Interesting, but a bit boring. The wads I had placed inside the lid on the rim got stuck. When I pried them off, one left some grinding work. /-:
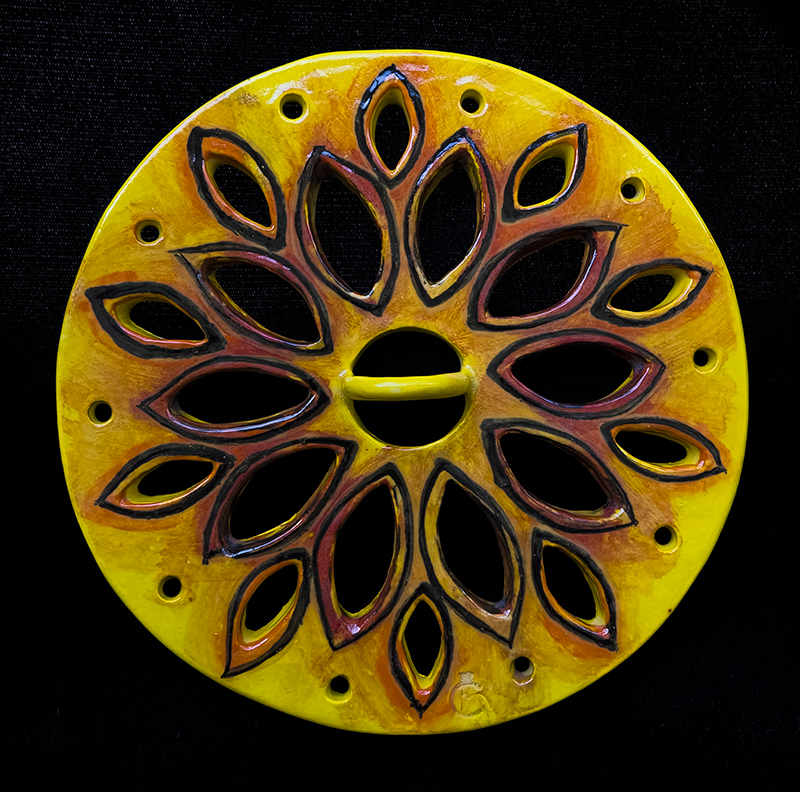
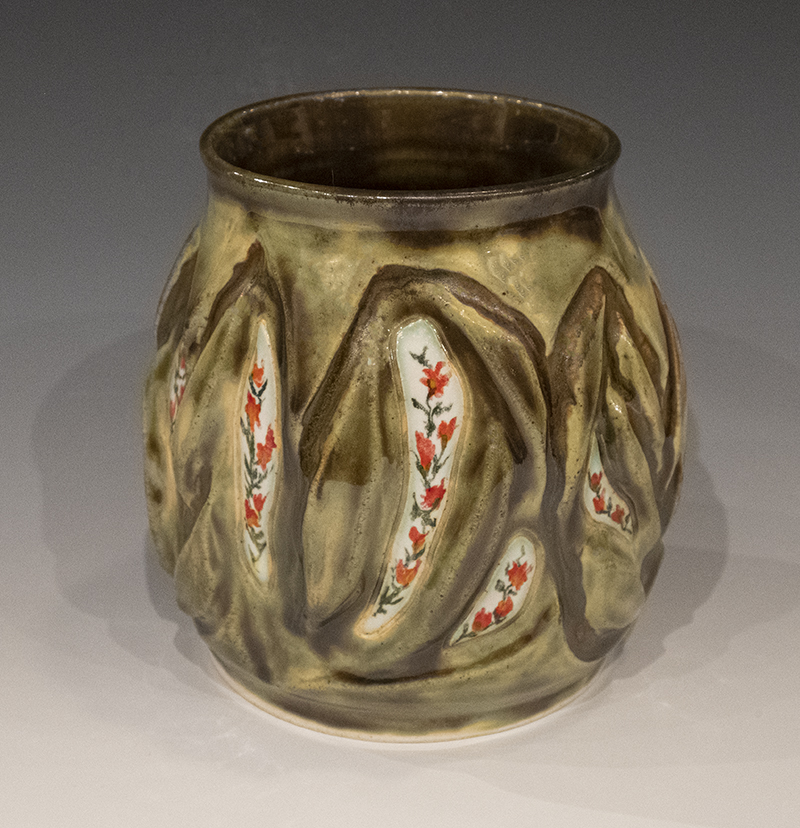
I decided to let the woodfire have its way with this small vase. I added some glaze to the carved out areas, but that is not super apparent in the results. At least there is nothing to grind on this one.
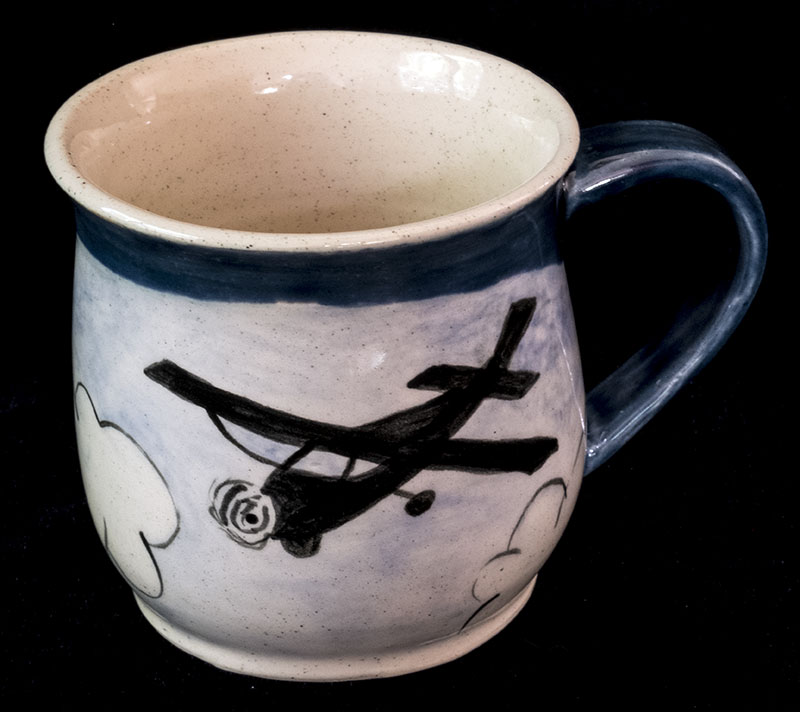
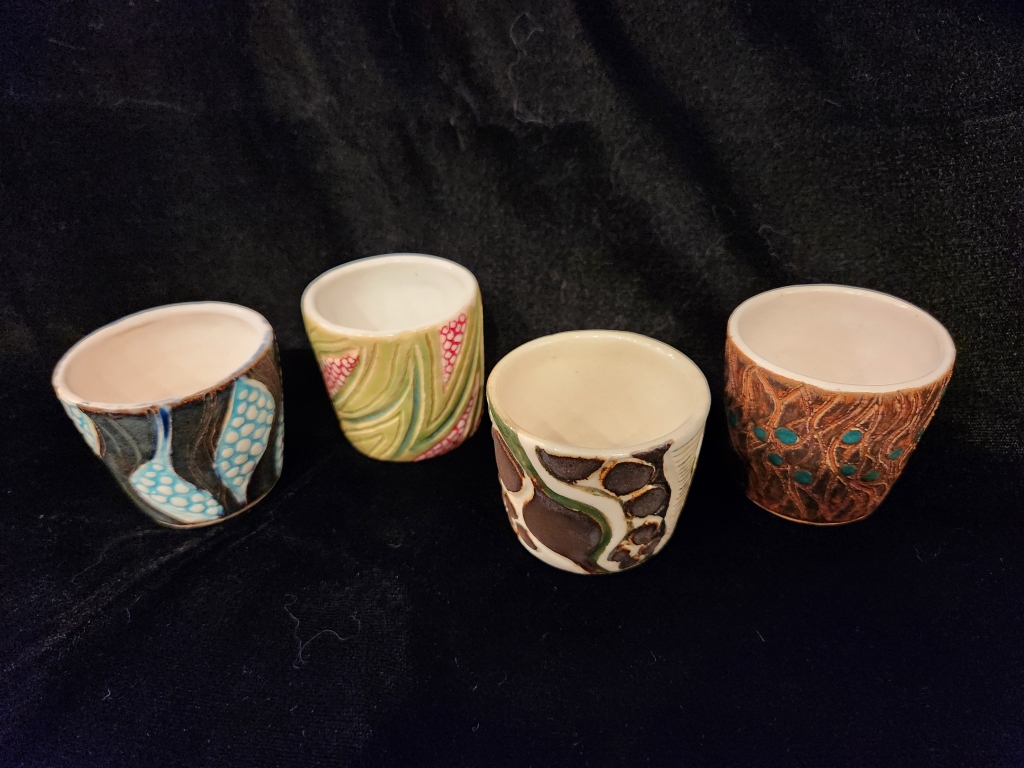
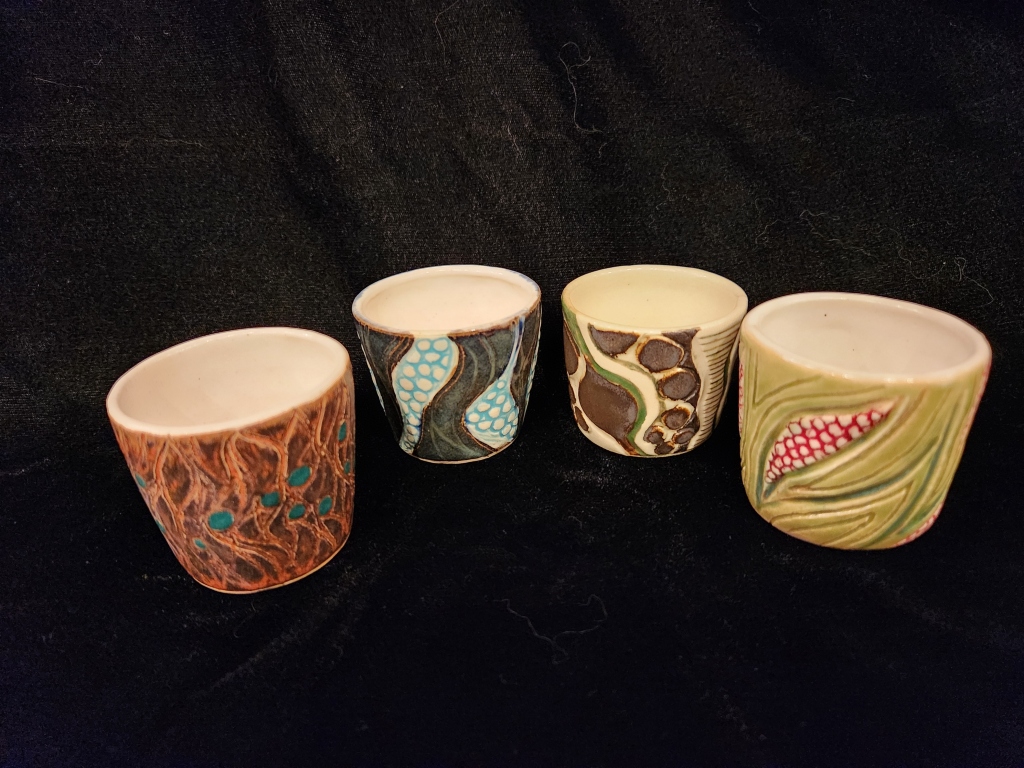
This cup had red underglaze in the circles. The red color survived in areas that got less heat, but turned white where it got blasted. The liner glaze on the inside turned into a semi-melted wormy mess. The high-fire bucket glazes that were available for my use were old and unmaintained, which could have caused some of my problems.
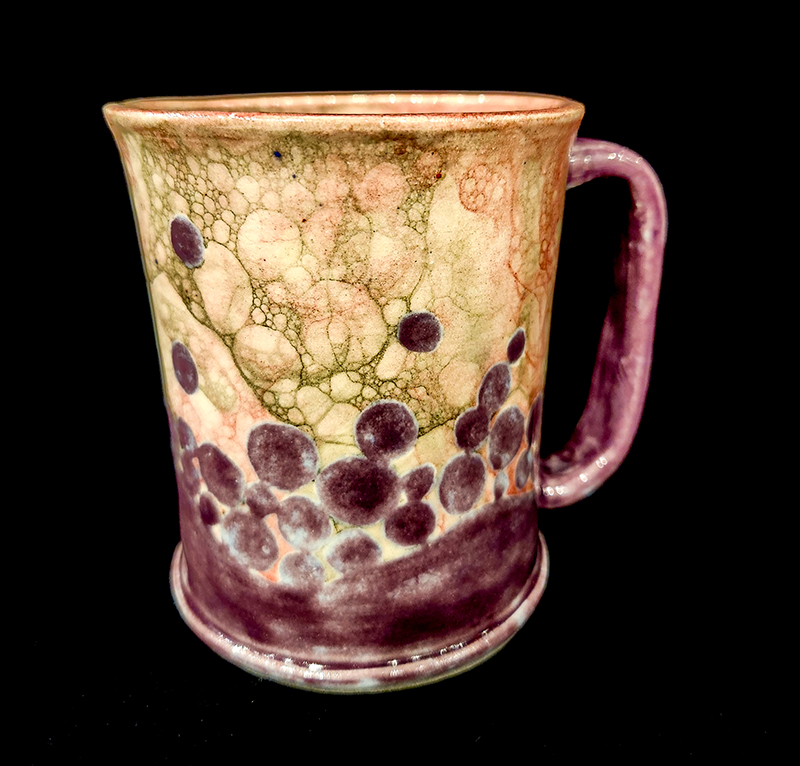
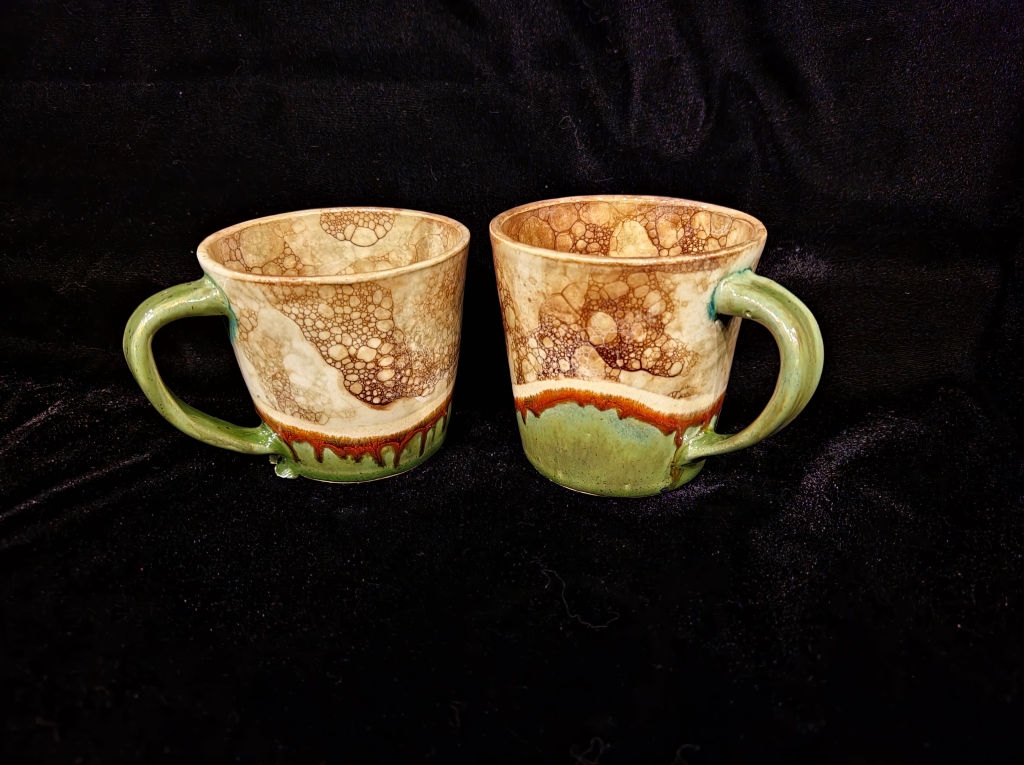
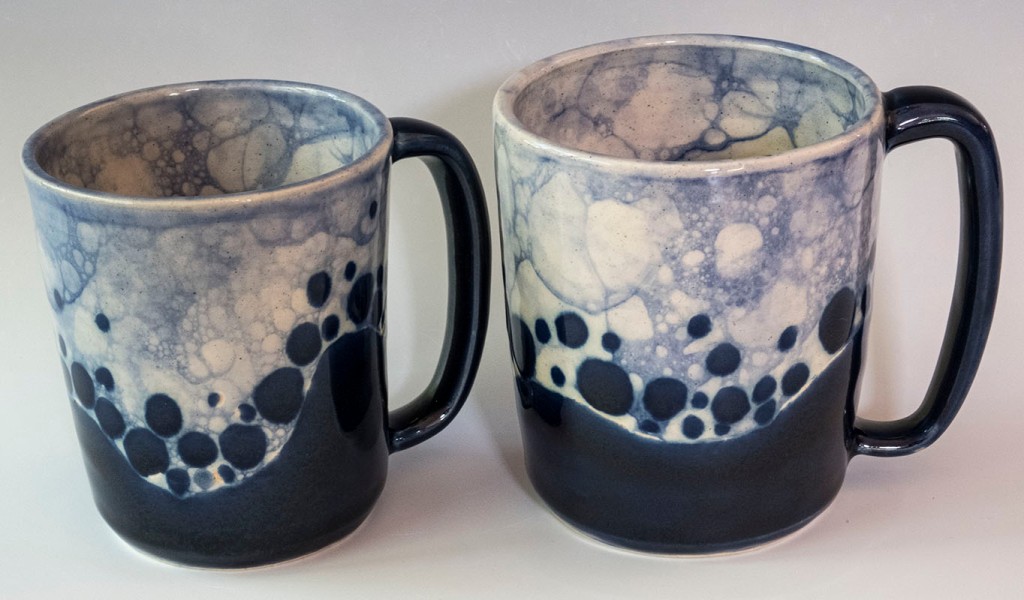
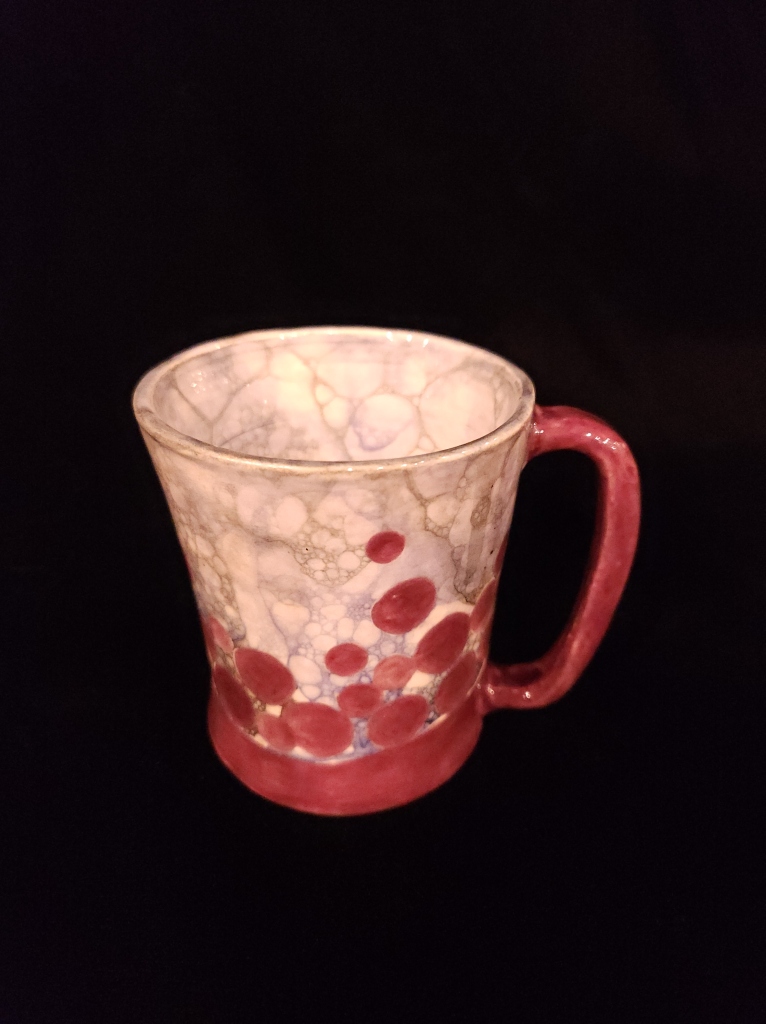
These two pots started out much the same. A few of us (including the community center instructor) were doodling around with mocha diffusion without knowing what we were doing and ended up with some interesting, but not really mocha diffusion results. I now know what we did wrong, but that’s another story for another time.
The pot on the left was woodfired. The one on the right did not make it into the woodfiring kiln because there was no more room. I stuck it in a test kiln and fired it to cone 10 (high fire). When I made it initially, it was because my husband had asked for something in which to put his pencils. Two years later, he has a nice pencil holder.
Both pots had the same surface treatments–failed mocha diffusion attempts and splashes of suspicious looking turquoise glaze from a bucket–but look how differently they turned out. The woodfired pot features lovely shades of red (flashings), black (carbon and ash trapping), and blue (the blue underglaze from the mocha diffusion and/or the blue bucket glaze). It’s one of my favorites from this firing.
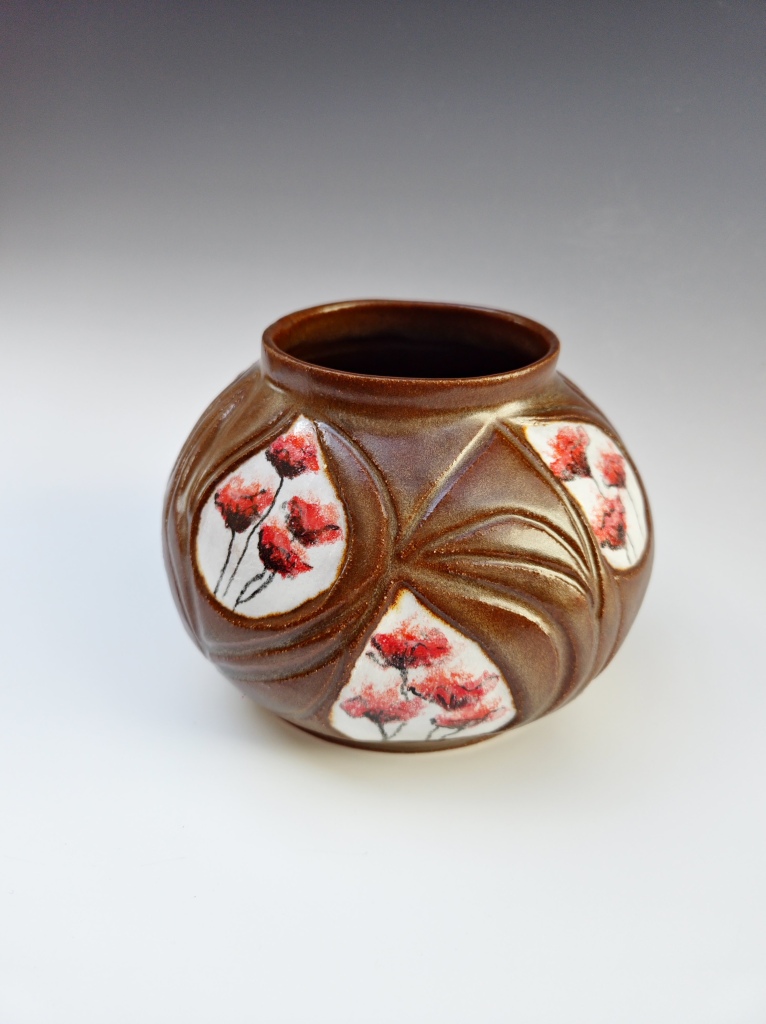
And saving (for me) the best for last, here is a large vase I decorated with black underglaze strokes and red clay paperclay balls. I also liberally splashed on some of the copper red glaze. I think the glaze turned white, making for some nice foliage while the paperclay balls turned coppery. I’m keeping this one.
So the takeaway from all of this is that it was fun to do, but for me it lacks the measure of result control I’m beginning to enjoy in electric kilns, especially now that I have my own kiln. The atmospheric firing world is very random and produces surprising results, at least to the novice. Plus there’s the grinding. That said, I probably wouldn’t turn down another opportunity to do this, but I still have no desire to move to this kind of firing on a regular basis. I’ll just admire other, more experienced atmospheric potters’ results.
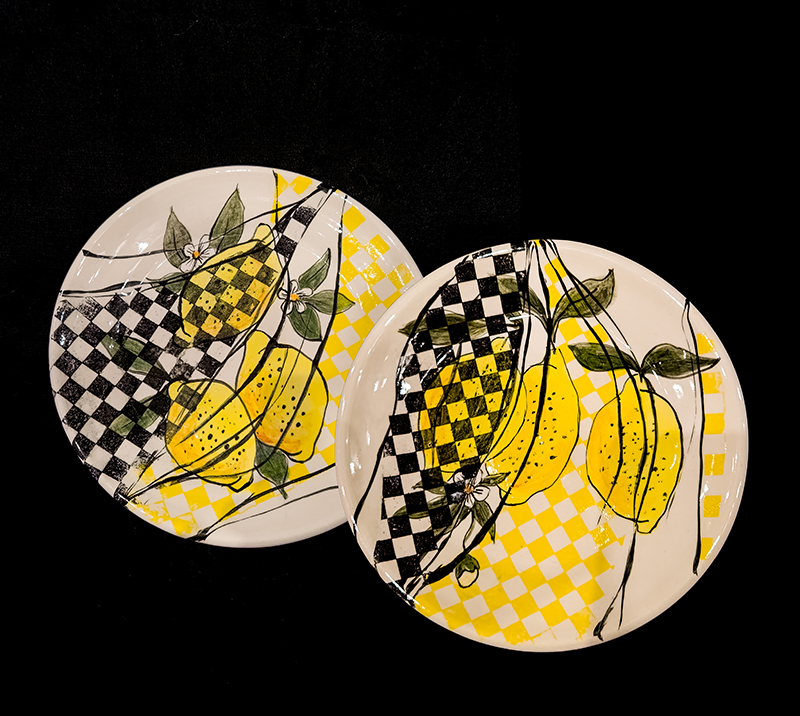
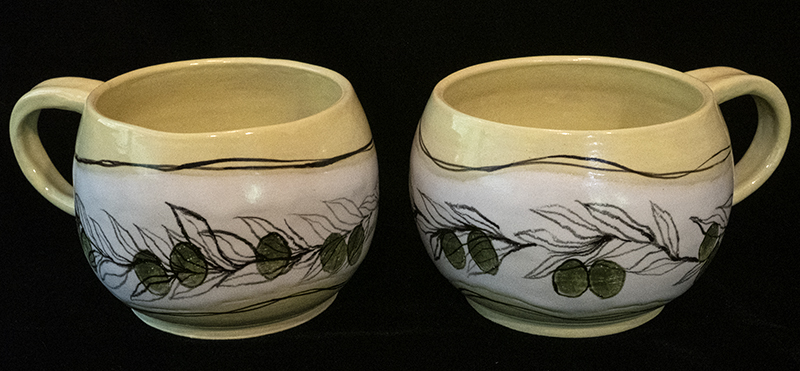
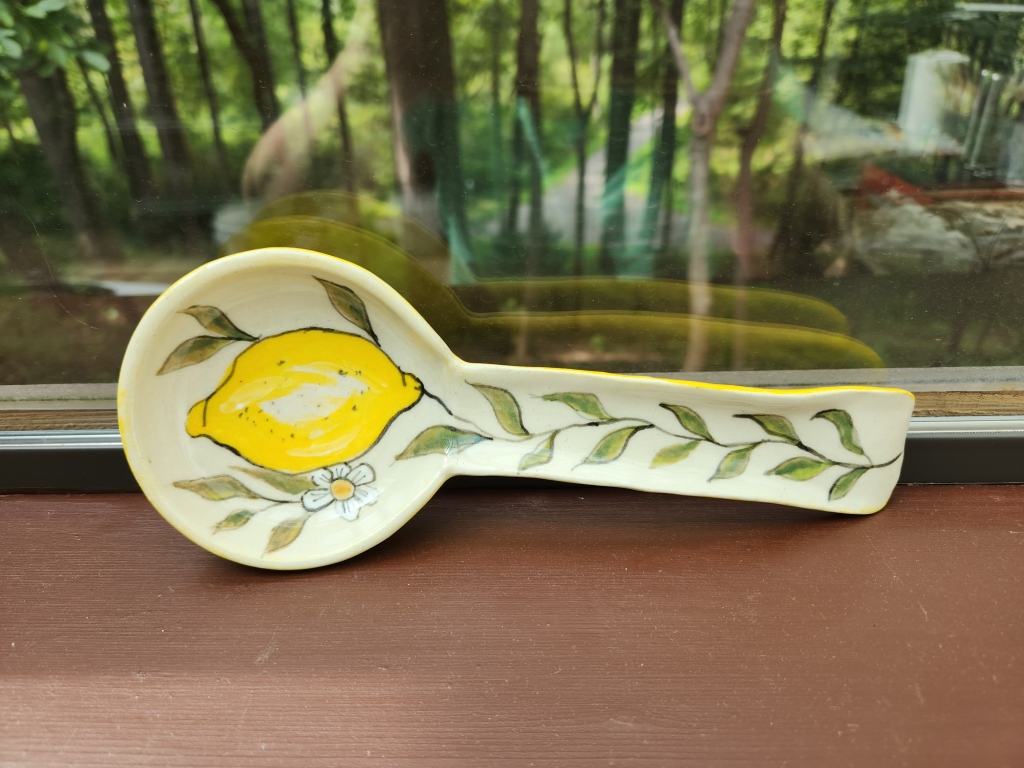
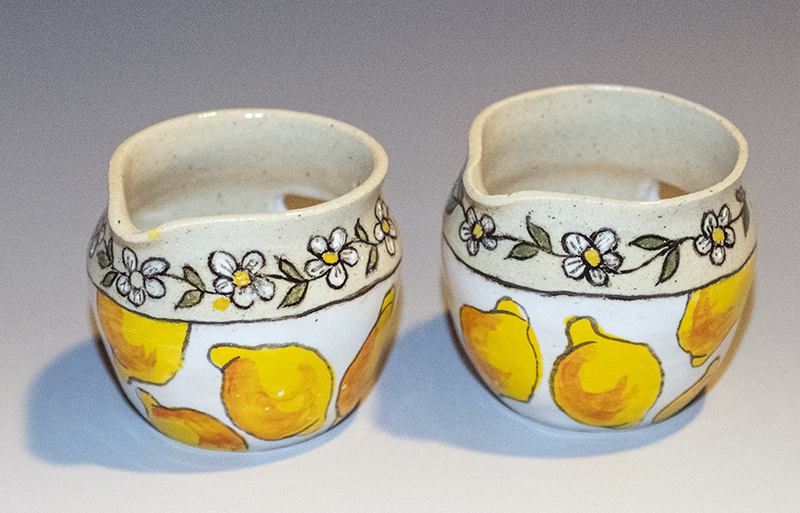
Now I’m going wild with fruits. I need to settle on something for a while…maybe…probably. I’m still working with lemons. I now have a full-sized kiln and my pieces will not be limited by the size of a test kiln. Perhaps my work will get larger….maybe…should be.
The apple got away. I sold it. Also, I’m editing this post to add a lime luminary (also sold) that temporarily got lost between the camera and the computer.
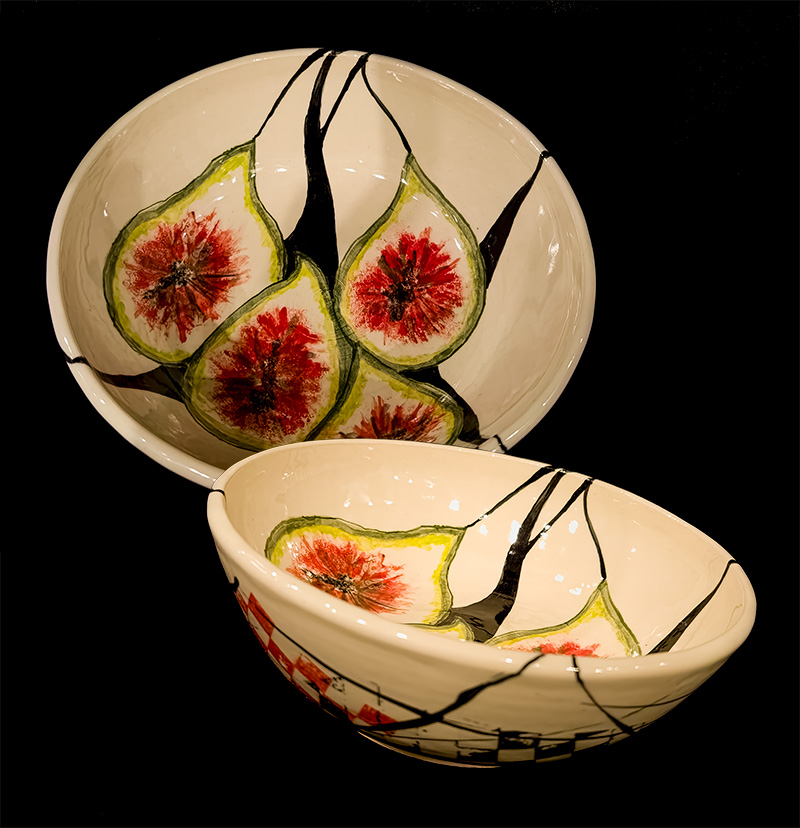
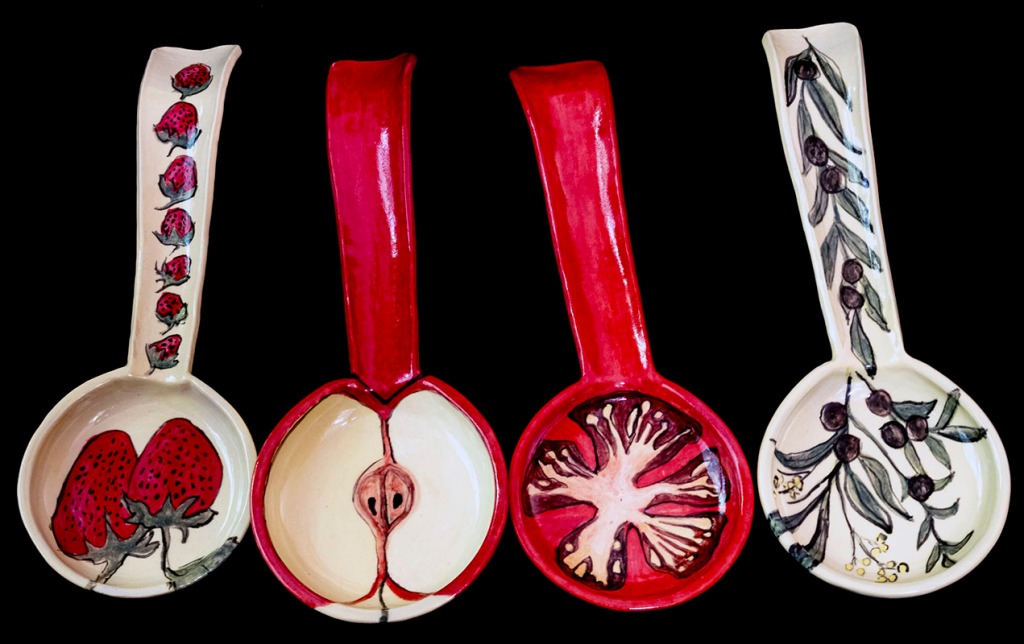
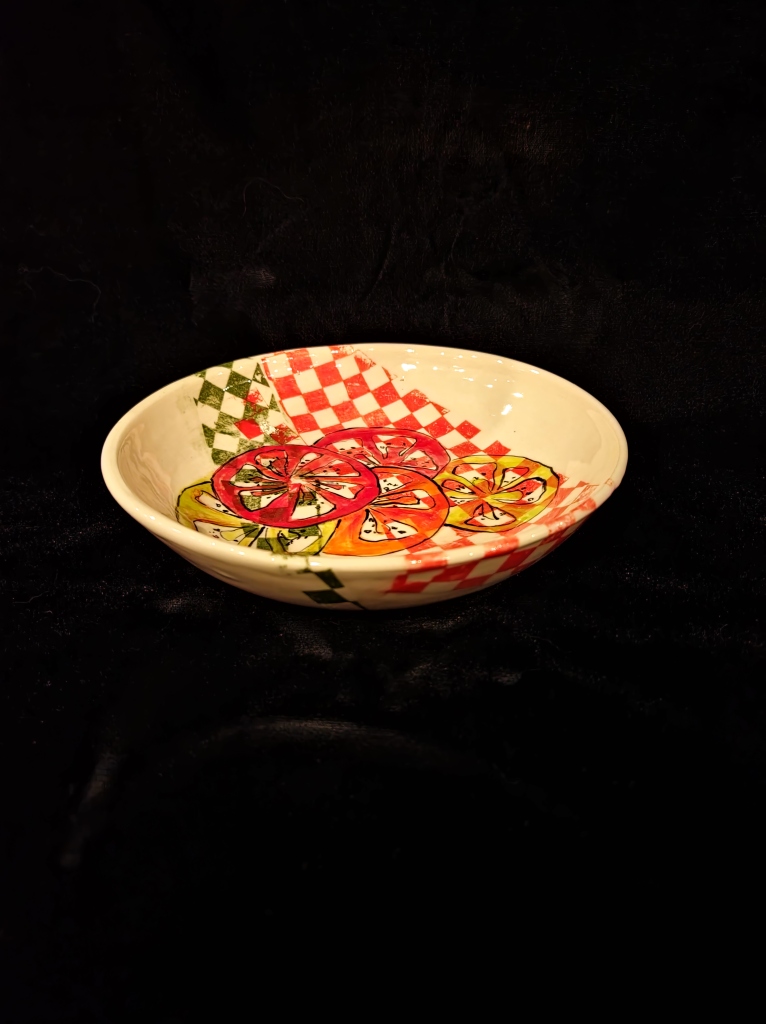
Here is the rest of my first batch of lemony majolicaware. I’m sure I’m not finished with lemons yet, but I am also simultaneously reaching out to other fruit to be subjects. To wit, see the full set of watermelon bowls below.
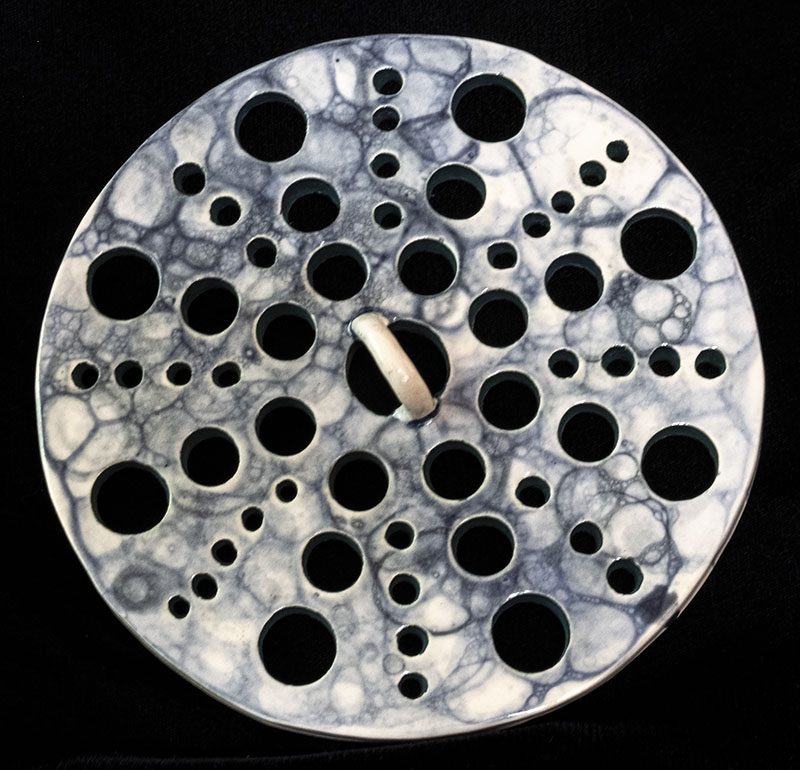
In case you were wondering, the little jobbies with the spouts are egg white separators. They actually work! A good solution for cooks who prefer not to pour egg contents back and forth in the sharp-edged broken shell to separate out the egg whites for meringue.
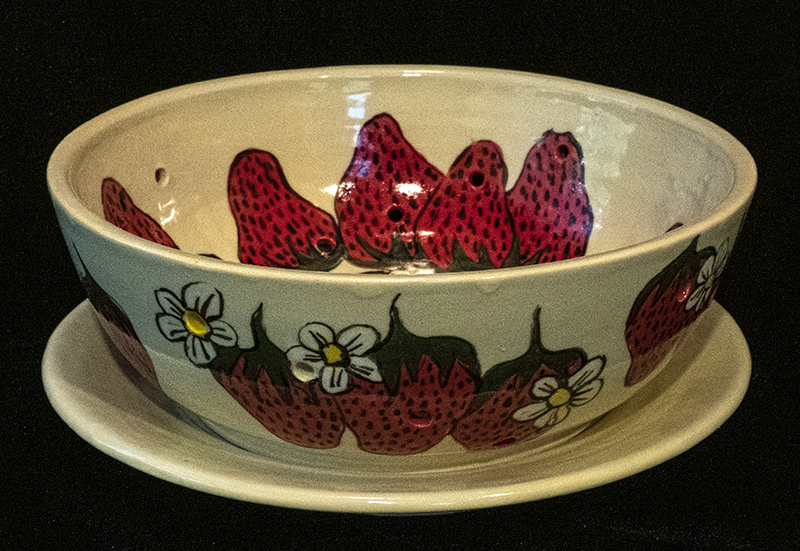
Two of the watermelons are majolica in that underglaze is painted over a white tin-based glaze. Two are not in that they have red underglaze painted directly on the bisqueware and have green glaze for the “skin” rather than underglaze, and are then clear-glazed. Can you tell which is which?
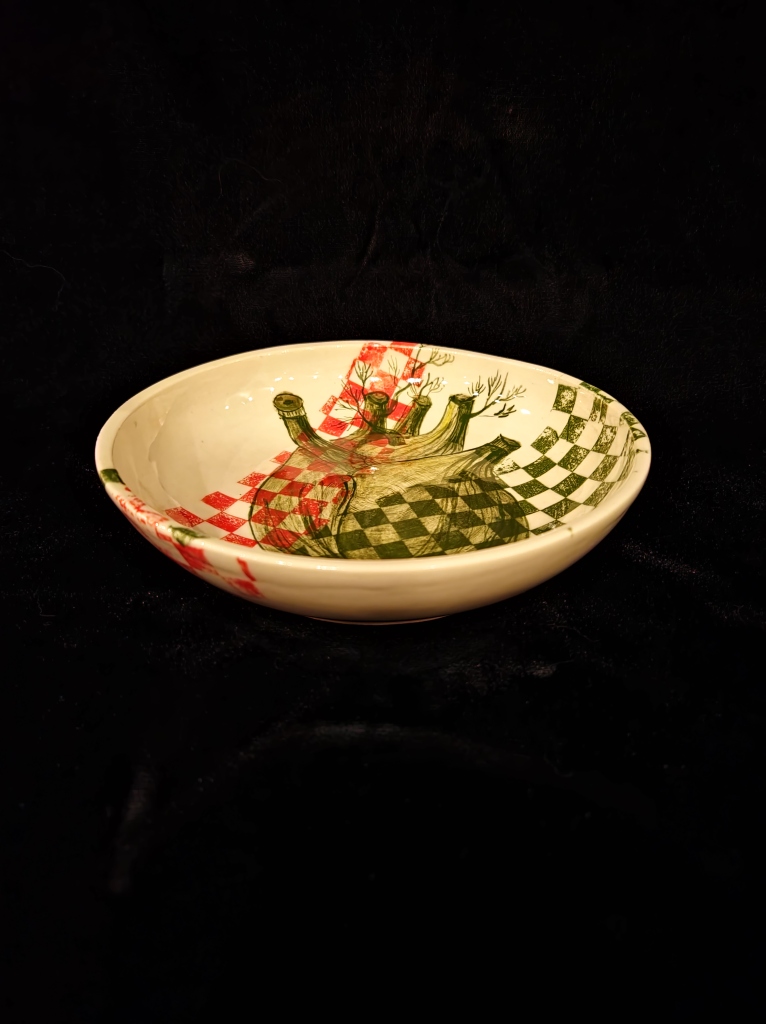
These two are test pieces I made, but didn’t use for various summer classes I took. The vase on the right started out as a circular closed form. I used to find closed forms really hard to make, but I threw three of them lickety-split this last time I tried. This one didn’t stay a closed form. It was too tempting to add a slab cylinder to make my favorite pot shape. I also used black lava glaze I’m testing as a lowlight.
The vase on the left has a sgraffito design. I applied two different colors of underglaze, then covered it all over with black glaze. Then, like scratching through crayon on paper to reveal crayon colors beneath, I scratched through the black glaze to reveal the colored underglaze.
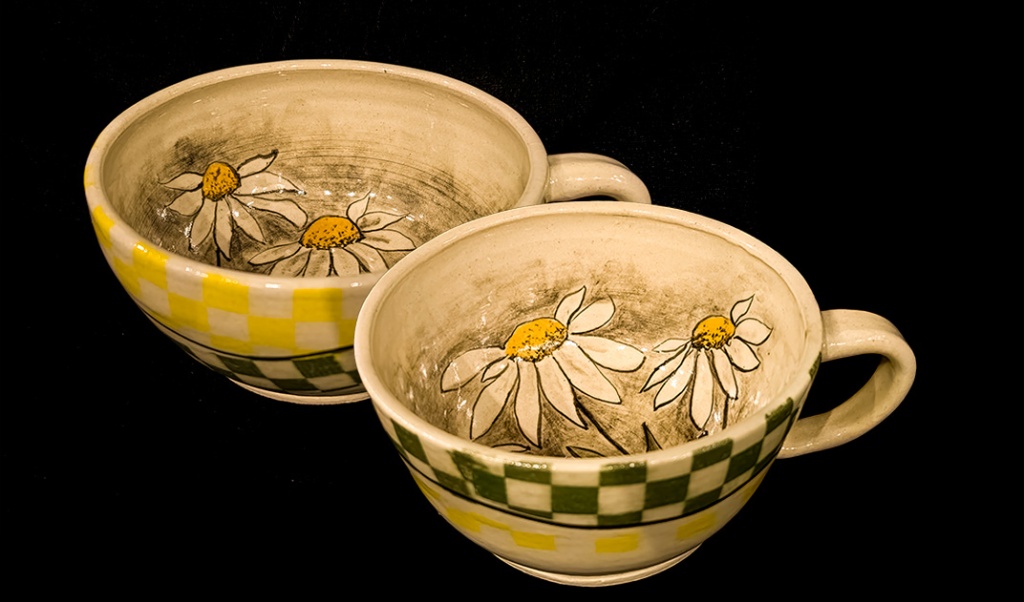
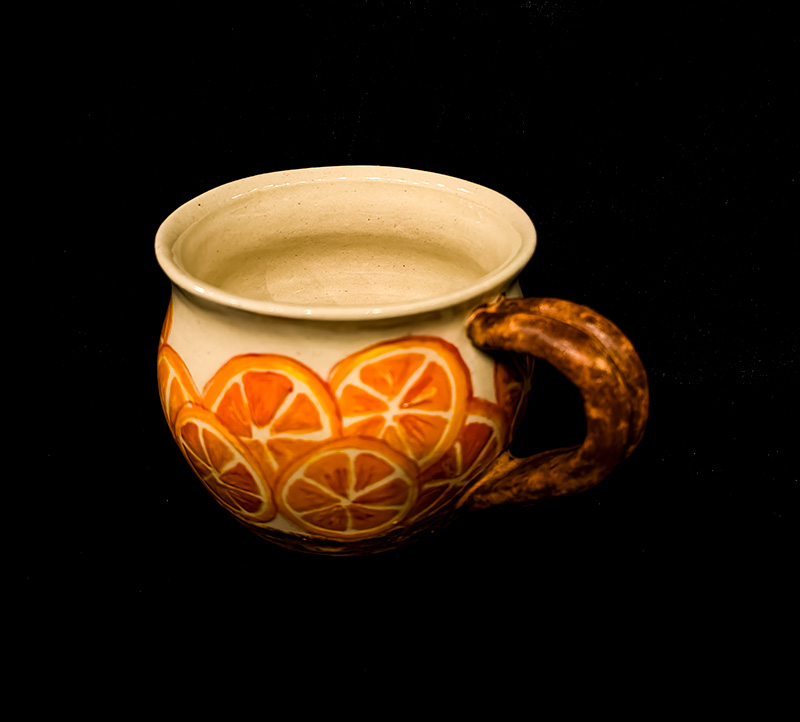
Here is another one of my small vases wearing my tin-based white glaze and underglazes painted on to impersonate lemons, or in the vernacular of the ceramicist, a majolica creation. The nice thing about this white glaze I developed is that the underglazed lines and shapes applied on top of it not only retain their intended clarity, but the underglaze also appears glossy, as if I had used a glossy clear glaze as a top finish.
This wall and this clock have become my favorite backdrop for photographing eye-catching flower arrangements I want to remember. In this case, I was saying goodbye to one of my little “shape” vases before I lovingly sent it off to a new home, with flowers. I discovered that Trader Joes has has the perfect mini bouquets to fit my small vases.
Wow! This was my first opportunity to do a pit firing. It was part of my degree program–a course in surface decoration. Who knew that a low-temperature firing could produce such compelling results?
The red in the vase on the left was created by ferric oxide doing its flashing thing. I also applied some faux (non-fired) gold luster. The test tiles on the right have combinations of cobalt and copper oxide washes. I believe sugar was also involved.
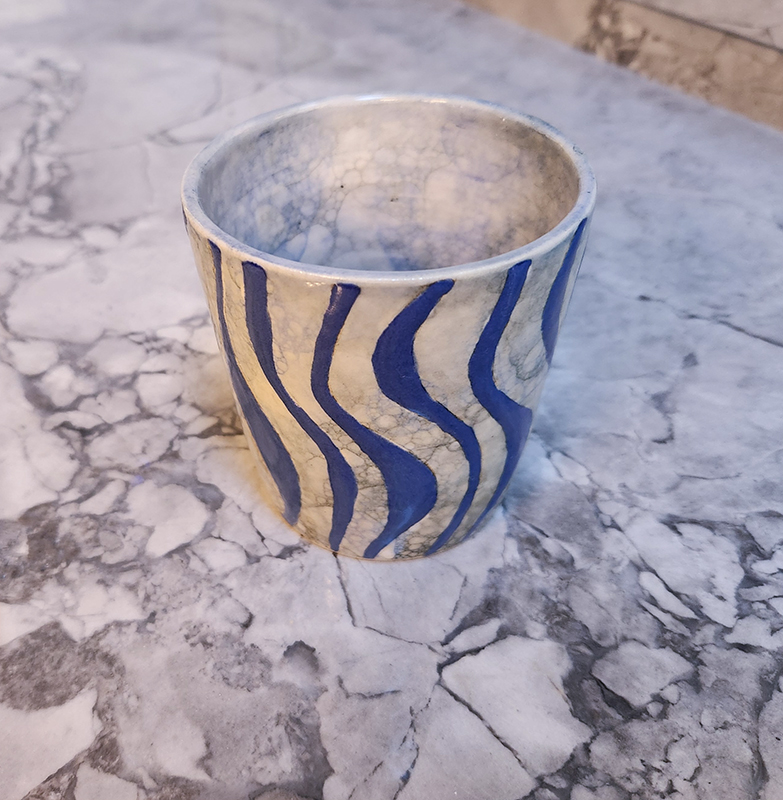
For the vase on the left, I was experimenting with texture and two of my homebrew glazes. I built this vase out of two thrown pieces and then ripped the top. It started out with “The Shape.” Someone liked this turquoise and metallic vase enough to buy it.
The other vase is handcoiled. It features my “soapstone” glazing technique and is decorated with decals I made by impressing the backbone of a dolphin whose skeleton I found on a beach last year. That dolphin has been showing up with regular frequency in my work this year. The glaze on the decals is Amaco Saturation Gold. The Shape? Sort of!