Cooking Compared to Pottery

It has often struck me as I muck around with clay, make glazes, and form 3D shapes in the process of making ceramic pots just how similar pottery is to cooking. It even uses some of the same instruments, for example, rolling pin, blender, spoon, bowl of some sort, oven (kiln), just to name a few. When I’m wedging clay, I use the same hand movements as I do for kneading bread dough.

Sourdough1

Here, I am making sourdough waffles. I do this when I end up with too much starter after many days of feeding it. The flux in the “sponge” I made overnight is sourdough starter (yeast), buttermilk, and sugar. The clay is flour. More fluxes are added after 12 hours in the form of baking soda and salt.

Sourdough2

I put too much glaze on the pot and it overran onto the kiln shelf!

Sourdough3

Unlike in a pottery kiln, the cleanup is easier here. Plus, I am able to munch on the spillover. Yum!

Pottery in the Time of Coronavirus

Okay, so we have to stay home. That means I’m marooned without a kiln, but that doesn’t mean I have to stop all pottery activities. For one thing, I’m still a student and I have assignments  due, even if they need to be kilnless right now. So here’s what I’ve been up to during the past few weeks. I’ve been too busy with all of this and more to even think about throwing new things on the wheel, but that day is coming, too.

Lab3_Unfinished
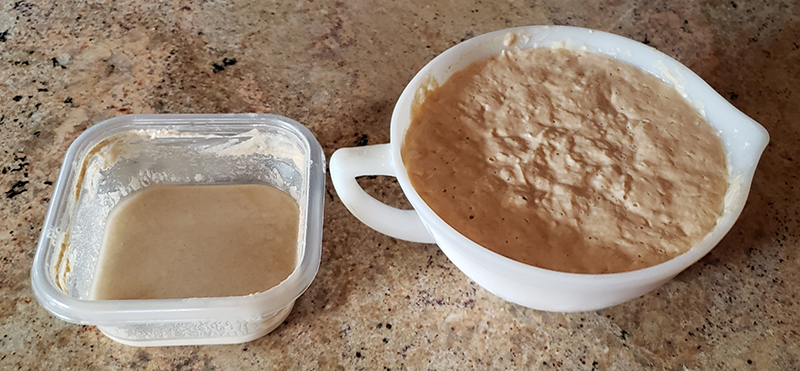
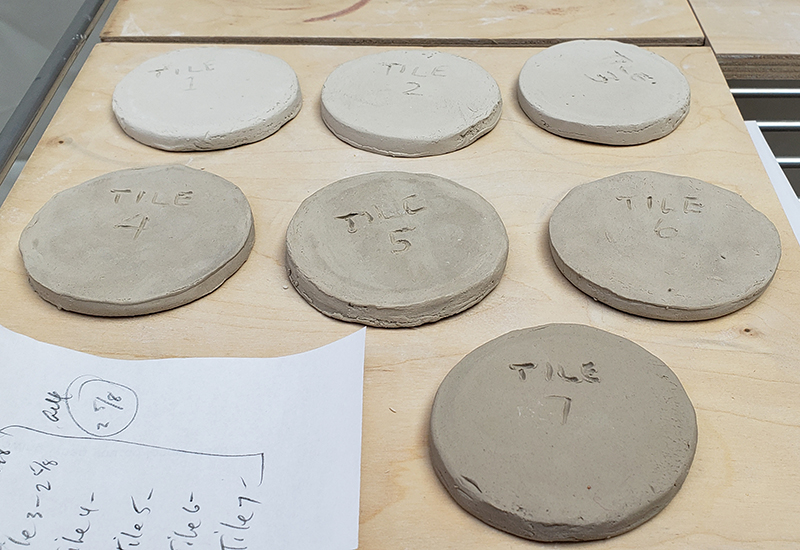
This is Lab 3, for what it’s worth. It has to do with making clay using varying amounts of the same fluxes and measuring for shrinkage. All I can do right now is the wet and green clay shrinkage. Boiling and soaking the fired clay will have to come later.

PorcelainBowl_PaperclayTrial

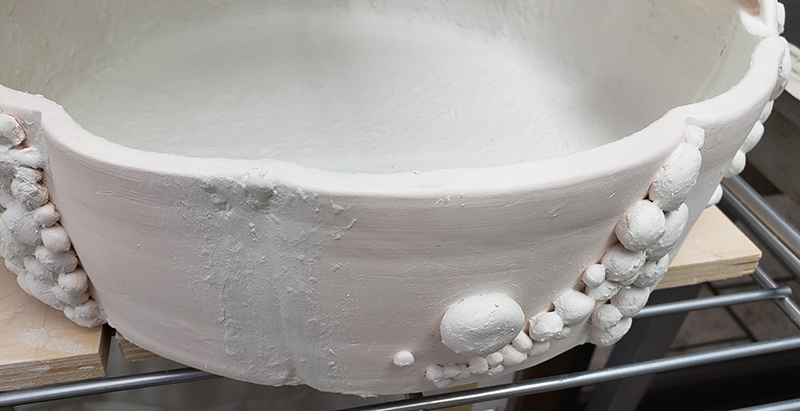
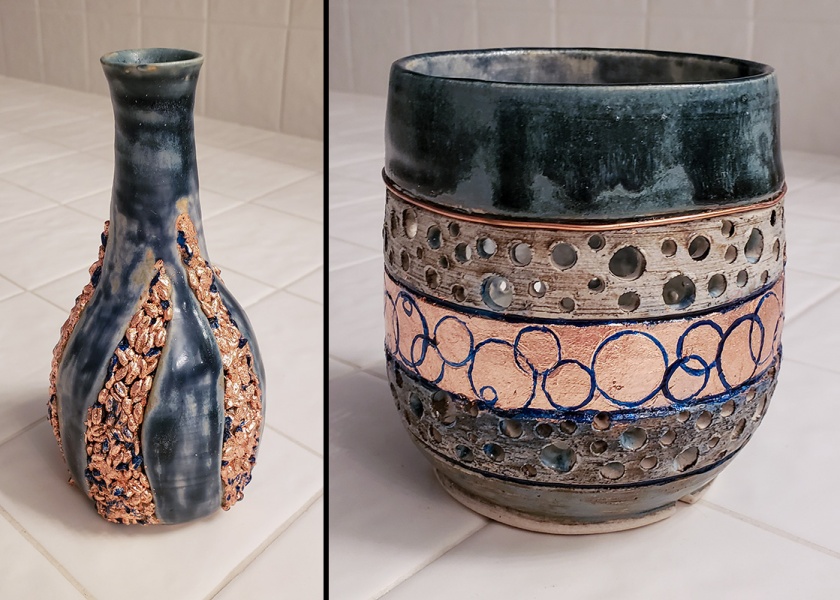
I’m going to write a research paper on paper clay. But first, I’m playing around (experimenting!) with it. I mixed up some porcelain slip and added toilet paper, even though I assuredly put my family at great risk for running out of this hallowed paper product. Here, I’m using paper clay to attempt to fix hairline cracks that appeared at the bottom and sides of this porcelain piece after bisque. There is supposedly a 50% success rate using this technique. I also painted over the outside porcelain ball decoration to anchor it into place better. I suspect that I’ll have a lot of sanding to do if this is successful. I have a Dremel tool ready…

PorcelainVase_PaperClayBall_Trial

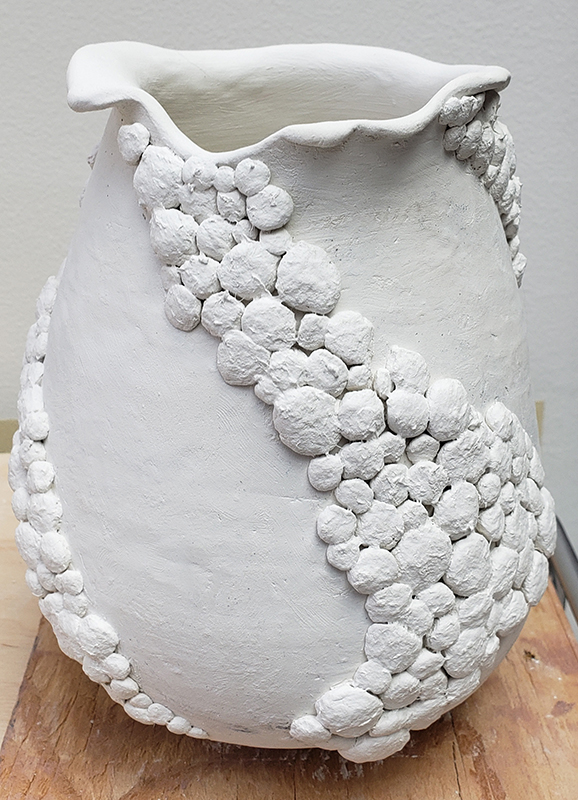
On this porcelain vase, I affixed paper clay balls since they are much lighter than their porcelain counterparts on the big piece above. They stuck really well on leatherhard clay! Can’t wait to see what happens in the firing. These balls have way too much TP in them. I realized that I got the proportions backwards. (Sigh…dyslexia.) I had to go back and make more paper clay with the correct proportions moving forward.

Paperclay_Square_Draft1jpg

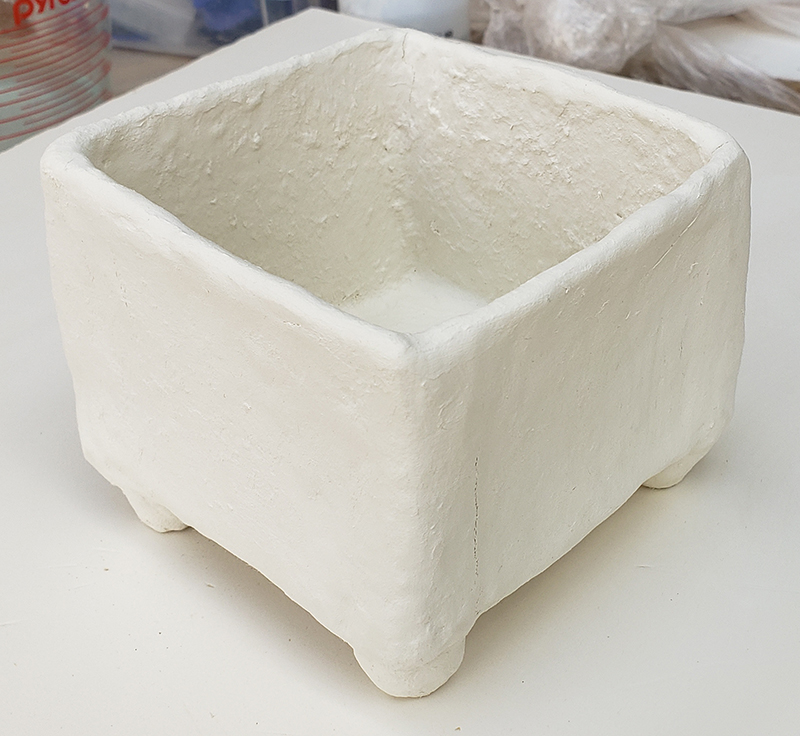
And then I decided to try making something completely out of paper clay. Amazing stuff! So hard when it dries. Even the stuff with too much TP. The over TPed paper clay is on the inside. I have been adding the correct stuff to build up the outside. I have been able to use a rolling pin to roll out very thin, very strong, mostly smooth sheets. I’m learning what it takes to affix wet to wet and wet to dry. The really great thing about paper clay is that you can use water to rework it and rework it and rework it.

Stay tuned. Eventually these will either fall apart or turn up as finished work.

Thinking Outside the Box

1stCopper_20200313_220838

I’m branching out into mixed media, specifically post firing additions. Here, I’m experimenting with copper leaf and model paint. Copper leaf is miserable to work with. I’m still picking up small pieces from the floor. At one point, I didn’t think I’d ever get all of it off my fingers. Sucker for punishment that I am, I’m probably not finished with copper leaf yet, but I’m also planning on branching out into copper sheet. I’ve worked with it before. It’ll be difficult in a different sort of way, but worth the trouble I think.

Hard to see here, but the VSB blue I used on both these pots came out quite differently on each. The thin-necked vase on the left is porcelain; the blue is a truer blue. The orchid pot on the left is white clay on which VSB is more blue-green.

Test Glazes on Bowls

My focus this year has been to create and test glazes I can use on my ceramics moving forward. It’s time-consuming and challenging, but oh so rewarding when they work and look good.

I made these little bowls for a class last year and they have proven to be great test pots for my glazes. The clay is what I call “garbage” clay–most likely reclaimed stuff we were given to work with in class. It’s not what I’d call great quality (including body color), but they do for initial glaze testing. I start with glaze formulated for cone 6 (mid-range, oxidation firing) on small non-good-quality porcelain test tiles. Once I get a test tile result I’m happy with, I move on to a test pot.

Here are a few of my first successful tests. On the top left bowl has a color I named “Turquoise Stone”; the inside is “Campania Clear, Semi-Matte.”  The top left showcases “Petal Pink”; the inside is “Kitten Clear, Revised.” The left middle bowl shows off “Maroon Pink”; the inside is “VC Transparent Clear, Revised.” The middle right bowl sports “Gray Pink”;  the inside is “Clear #1.” And the bottom bowl features my tenmoku-like “Coffee”; the inside is “Clear #2.” If I decide I want to move on with these glazes, I’ll eventually need to have them tested for food safety, although the chemistry of each indicates that they are. I’ll also need to test on a variety of different clays.

Continuation of the “Rice Bowl” Series

SoupServer_20200309_185506

This is #2 in the “rice bowl” series. It is a medium-sized, deep bowl. The glaze is Phil’s Opaque White from school with a bit of gum arabic added to make it smooth and easy to brush on. Once again, I painted black underglaze on bone dry clay using one of my homemade deer tail brushes and hoping the strokes would retain their shapes when applied on top of the white glaze. They did! I was pleasantly surprised.

Rice Bowl

I call this bowl a “rice bowl” in honor of a Japanese friend and long-time potter at one of my studios who has taken on the role of mentoring me. One day as I was making a bowl, she explained the difference between a bowl rim that curves out (an invitation for people to partake of the food within) and a rim that curves slightly in (representing a personal  and private interaction with the food within). As I was working through the various steps in making this porcelain bowl, she kept commenting on how much she liked it and that it made her feel hungry to look at it.

As always, I was experimenting. I mixed a small amount of robin’s egg blue glaze with clear glaze and painted on a fairly thin coat over a bisqued-in black underglaze design. No running of the underglaze! I was thrilled! I didn’t know what would happen when I mixed a colored glaze with clear. I can see the differentiation, but it’s okay. I plan on trying it again and mixing the two glazes a little more thoroughly to see if it makes a difference. I’m working on a porcelain plate to go with the bowl.