2023 in Review

It turned out to be a busy year. Lots of making, lots of selling. Of pottery. Because this is a blog where I document my progress as a ceramic artist, I feel I need to catch up some. So, here is a walk through some of the pieces I made this year, most of which are now gracing the homes of other people. Many thanks to those who appreciate my work, providing me with encouragement and validation by taking a piece home.

Bubble mug
lemon plates
Cat bowls
Tall vase
Small nested bowls
Airplant mug
Medium-sized vase
Large vase
Sunflower plates
Strawberry-themed berry bowl with separate water catch plate
Bathroom water cup
Very small air plant vases
Pie weight
one-ounce shot cups (or espresso cups
Bubble mugs
Fig bowl
Sculpture, immigrants in city street
Small air plant vase
Spoon rests
Medium-size vase
Blueberry-themed berry bowl with separate water catch plate
Bubble mugs
Fennel-themed pasta bowl
Olive-themed soup or coffee mugs
Orange-themed mug
Small one-ounce shot cups or espresso cups
Bubble mug
Dog-themed mug
Lemon-themed spoon rest
Pie weight
Olive-themed eggwhite separators
Lemon-themed eggwhite separators
Tomato-themed pasta bowl

Duality

I’ve reached an important milestone: my Masters show after over three years of hard work. Now I get to put what I learned from earning this degree into practice. It’s fun getting up in the morning!

And I finally created a rudimentary website as a springboard of what’s to come. Please visit!

http://ceramiclectia.com/

A Plentitude of Bowls

Still working on mastering majolica and continuing to have pretty good results. I’m taking a break from lemons here (but they will be back in force, never fear!). I got interested in peas for two pasta bowls and two salad bowls. I also tried another herb shredder and was thrilled with the result. It reminded me a bit of an abstract photo I once made of an iris garden on a rainy day. On the fruit bowl, I began experimenting with combining techniques: majolica and mishima (carving out the wet clay, then inlaying underglaze to get crisp lines). The outside of the bowl is mishima. I liked it, although not necessarily the muddiness that occurred from wiping away the excess black underglaze. I came up with a fix for next time. You’ll have to wait for next time.

Learning from Mistakes

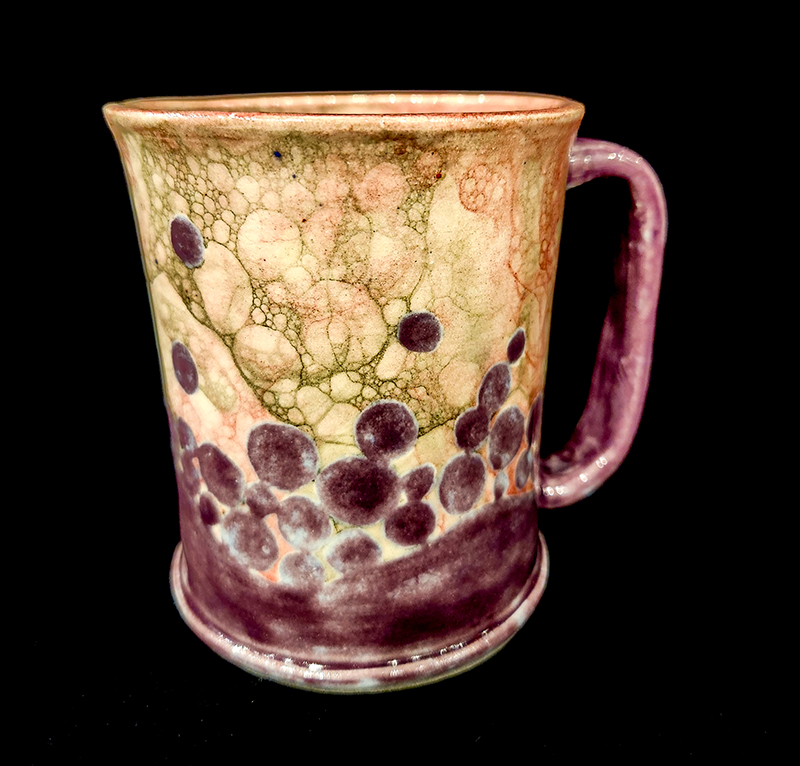
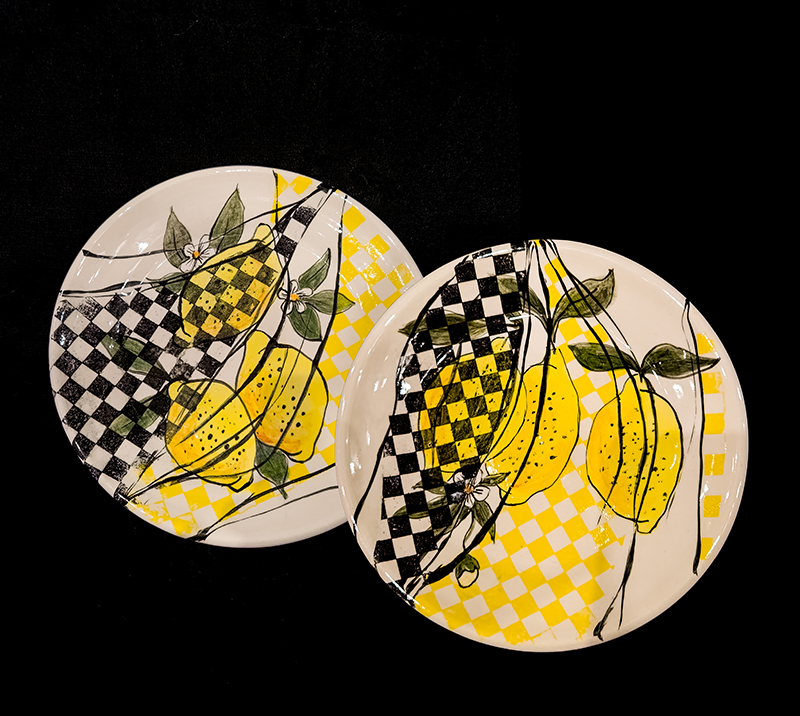
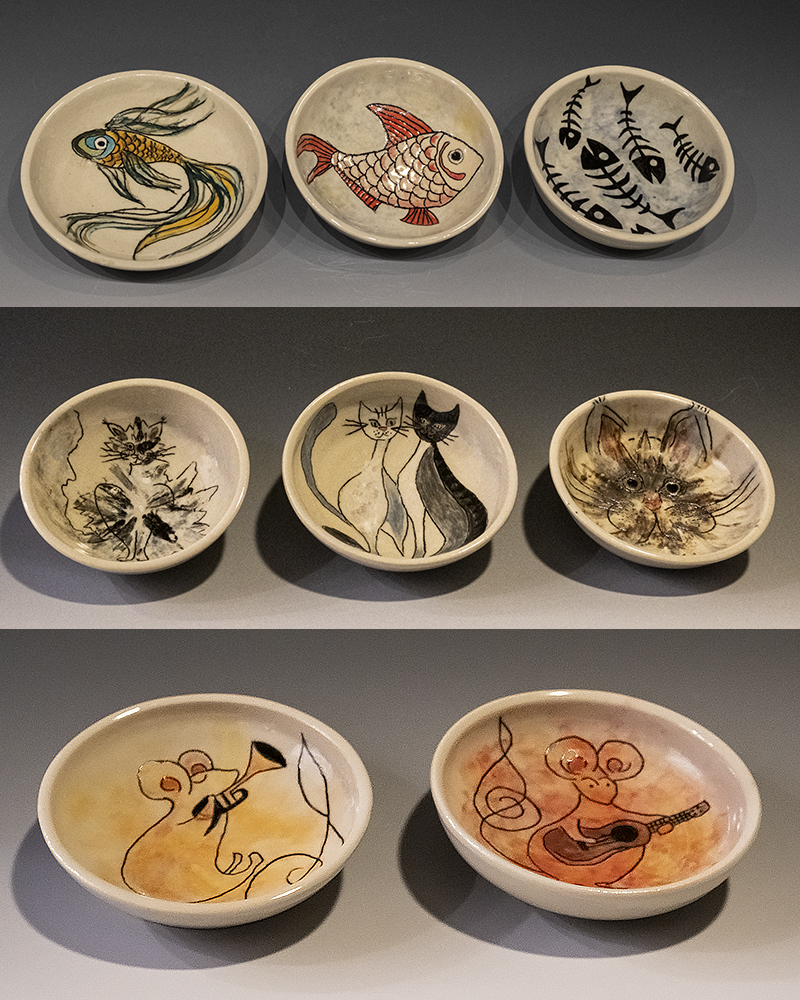
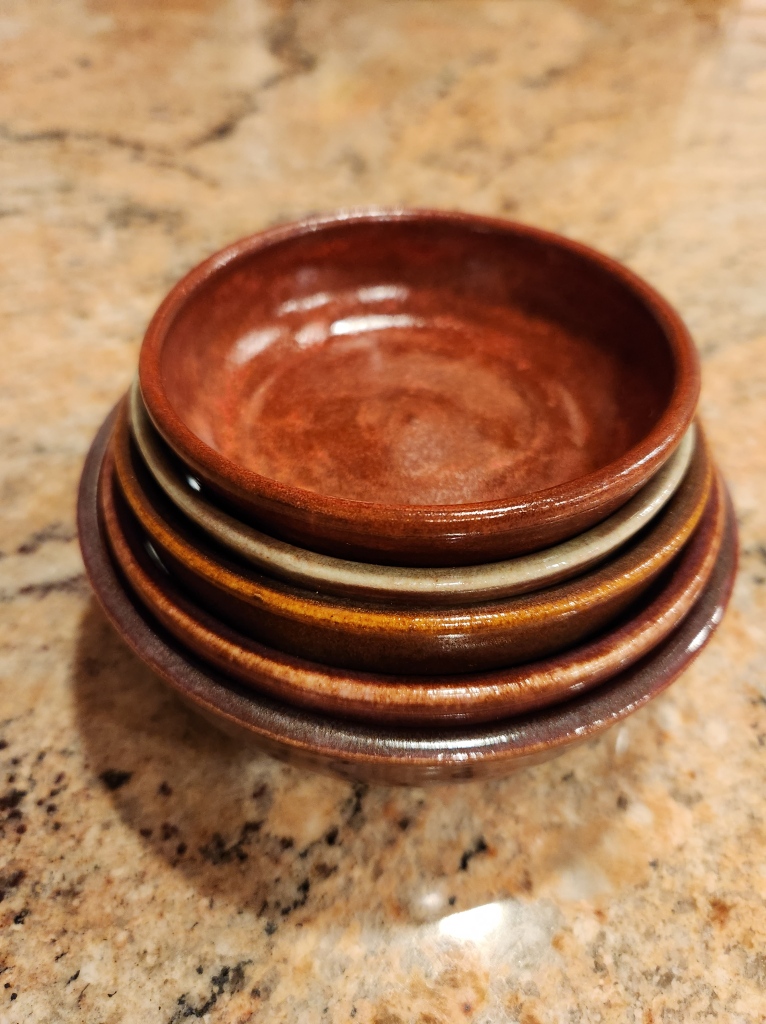
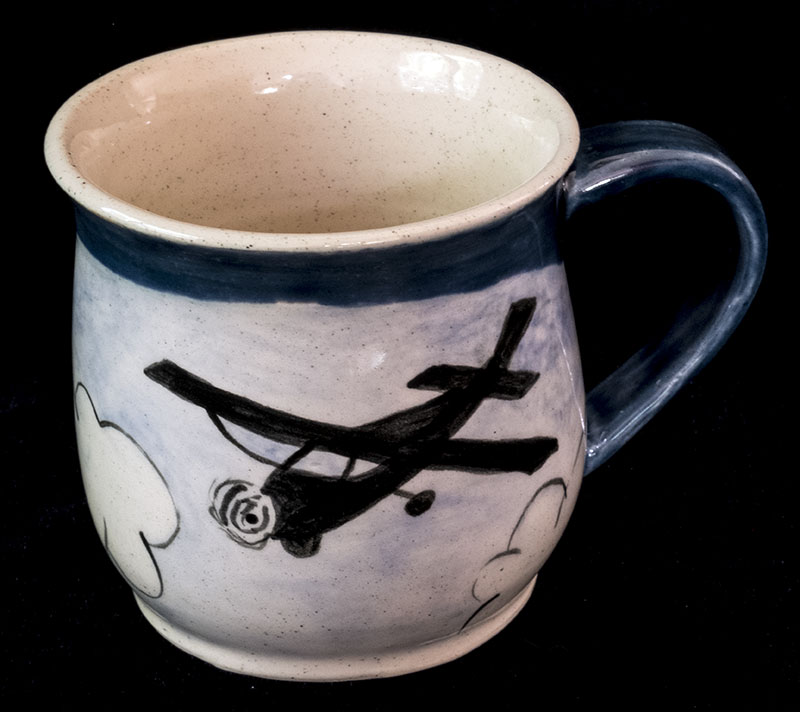
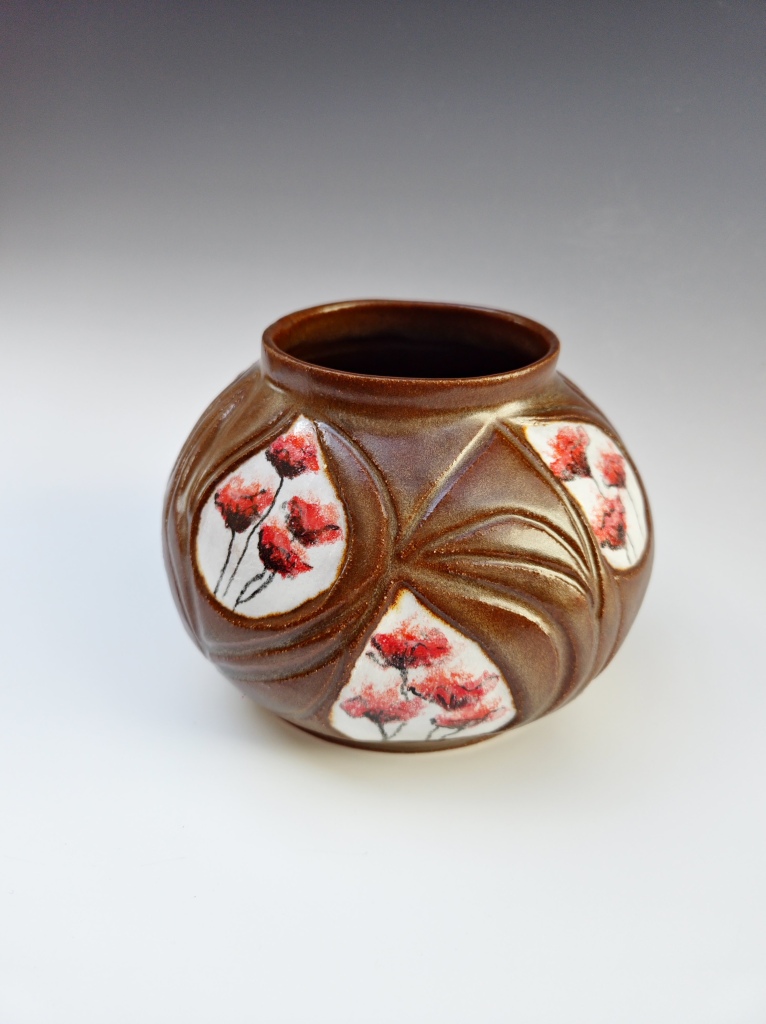
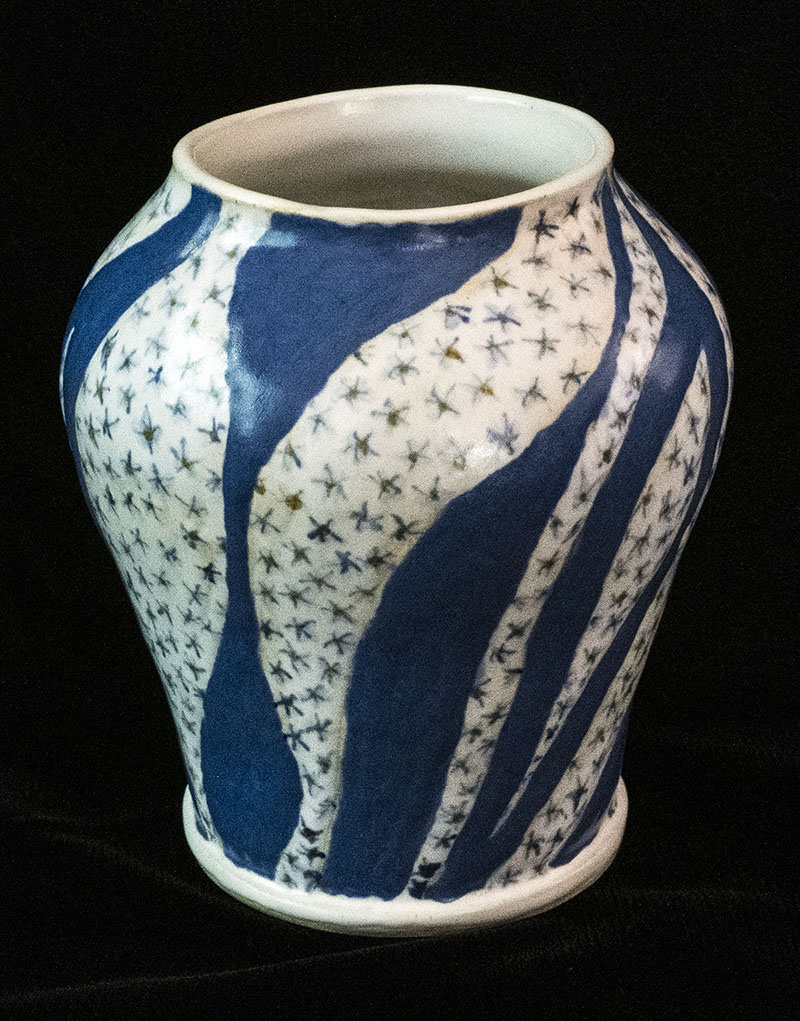
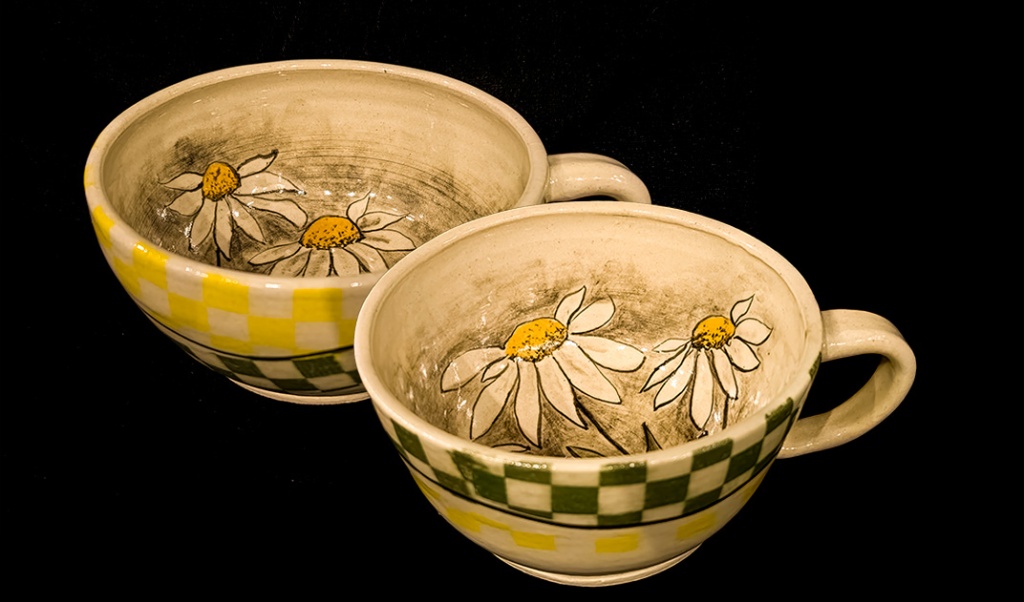
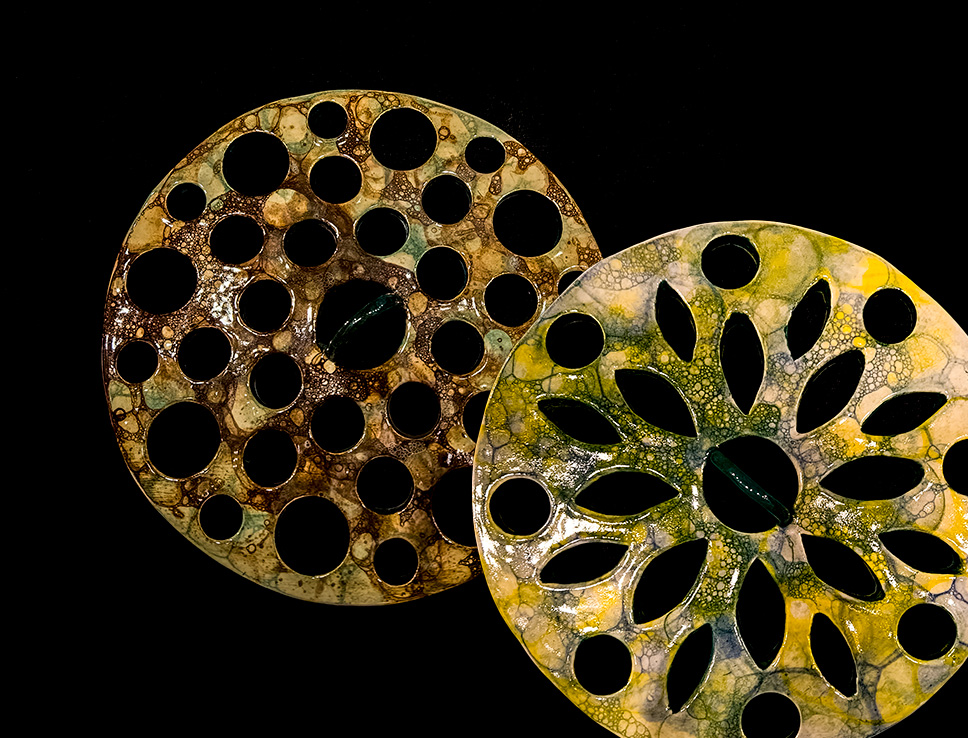
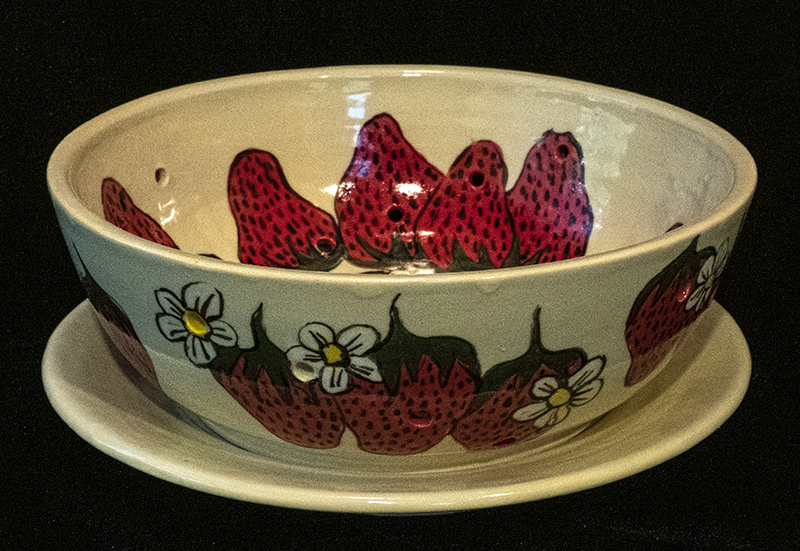
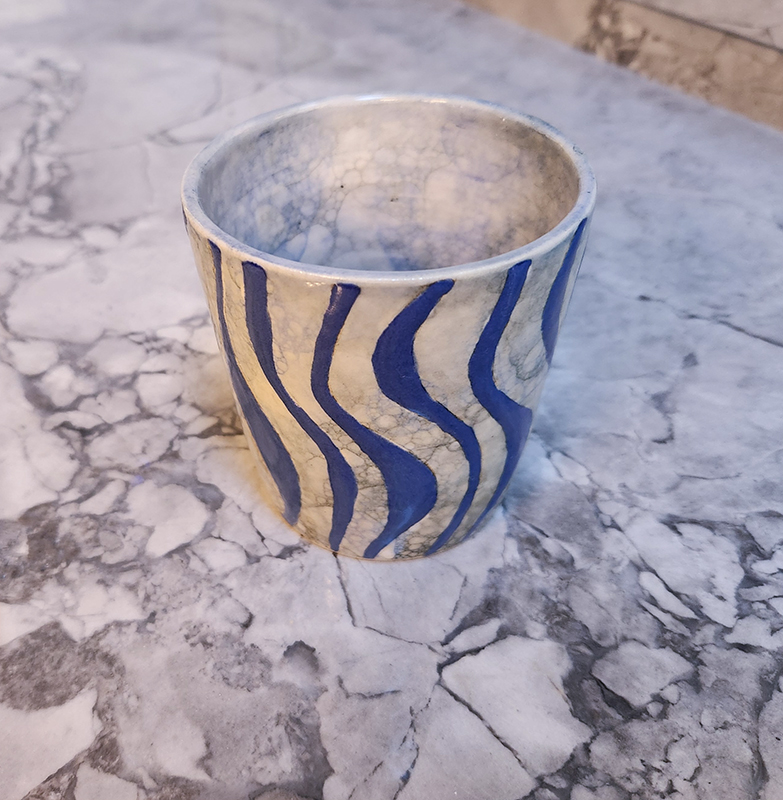
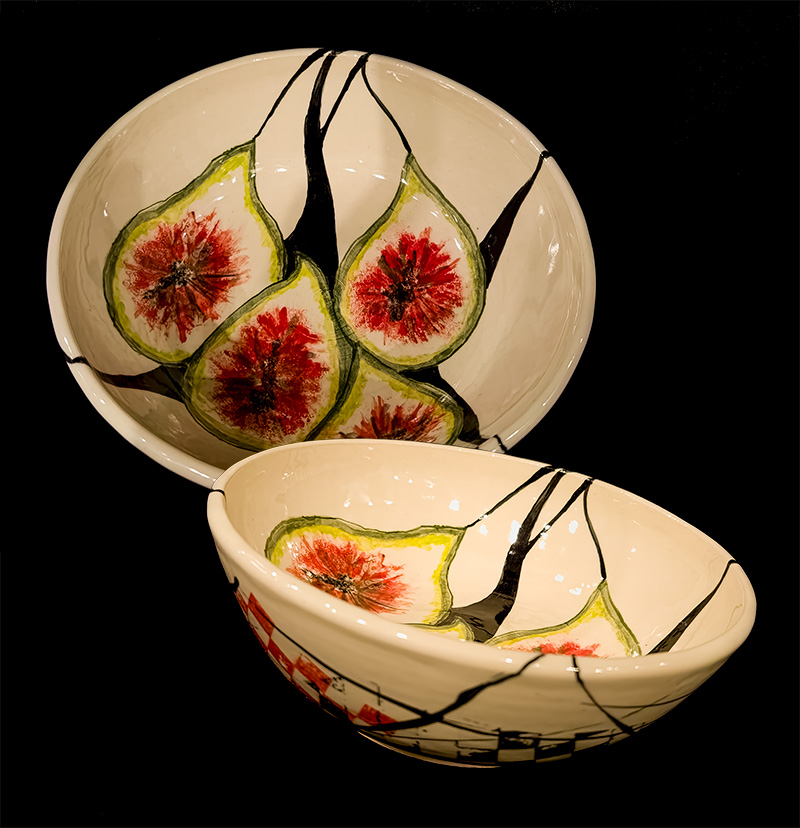
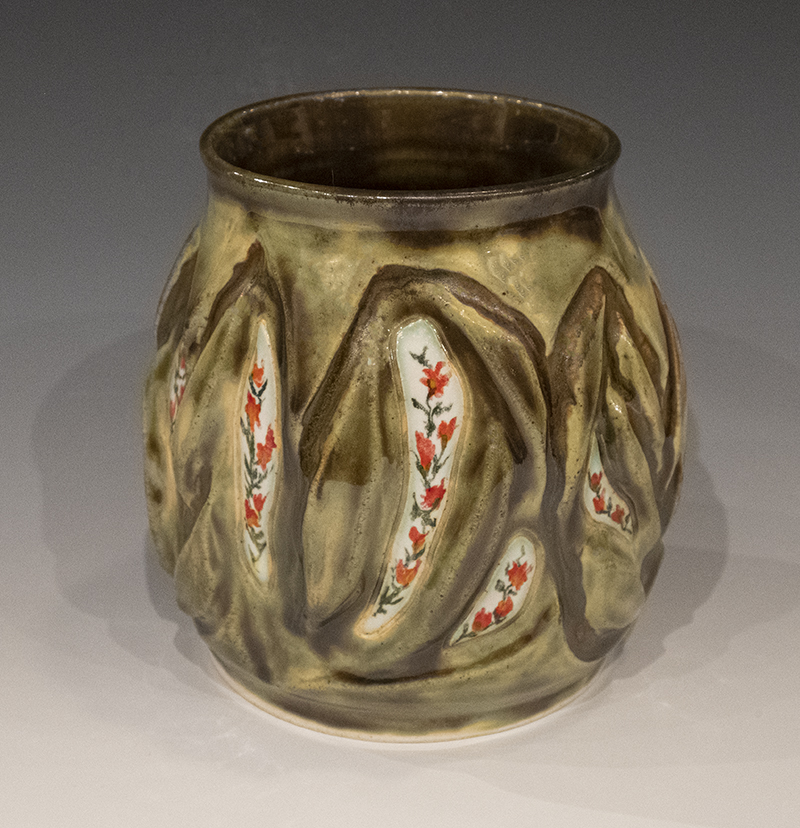
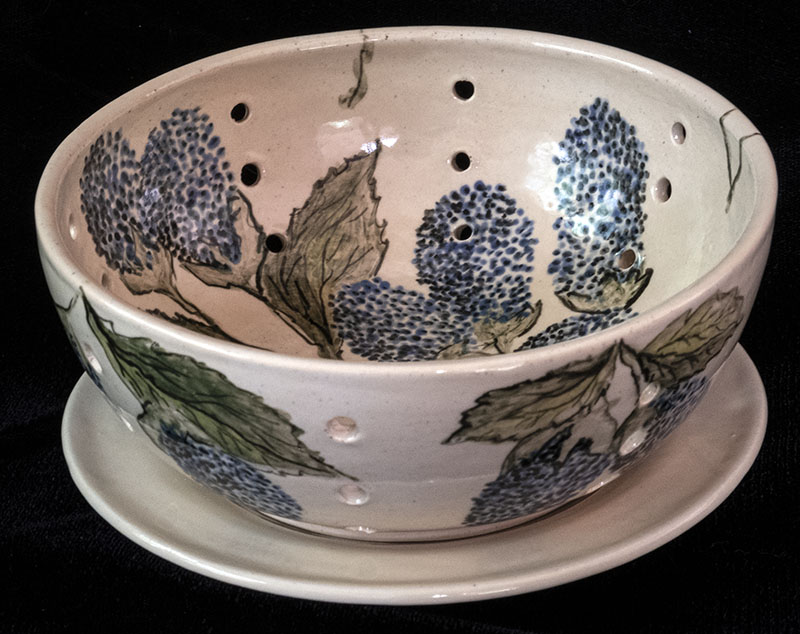
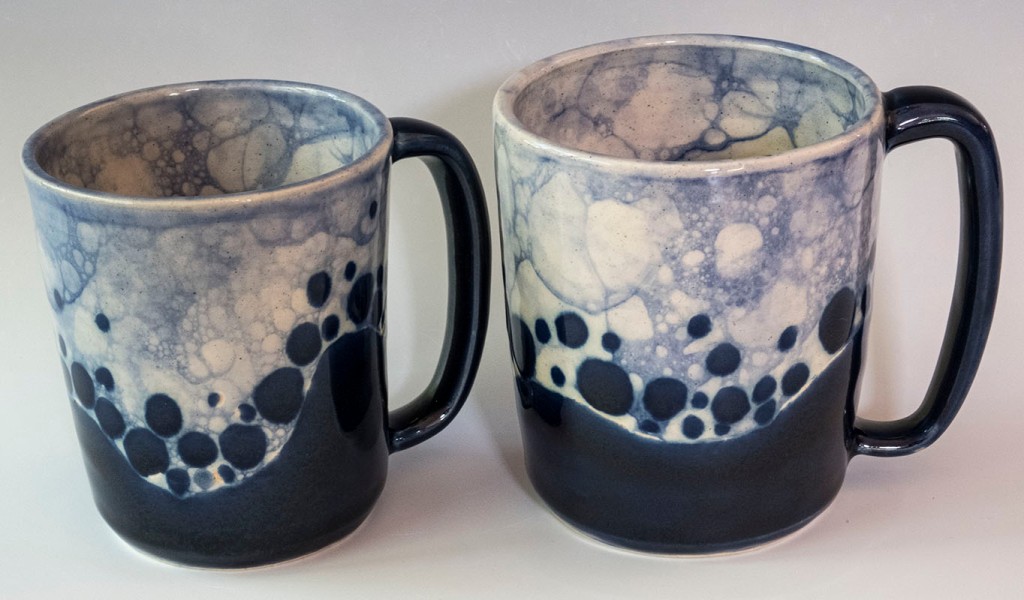
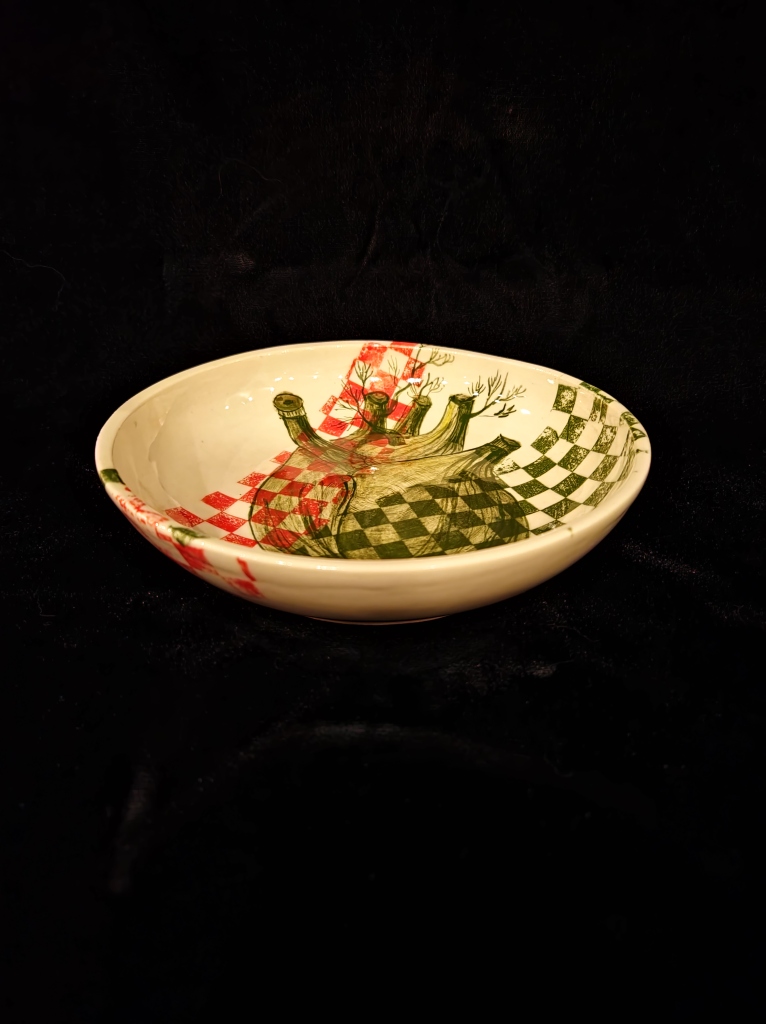
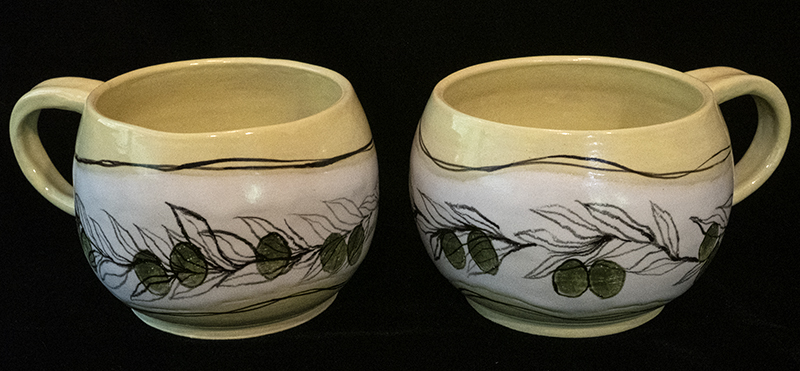
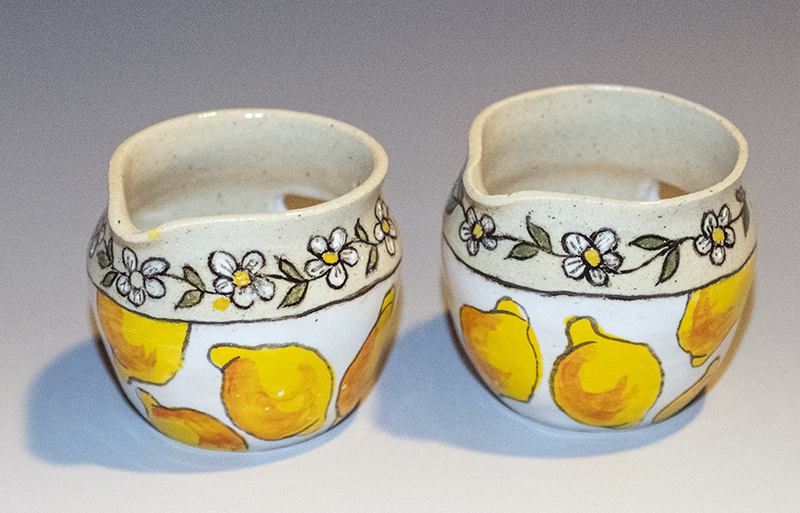
Well, I had a good cone 6 white majolica glaze going. And then I monkeyed with it. Not a good idea, especially since I did so in a way in which I knew better than to do. It was then too thin and started crawling (i.e., not covering the clay in some spots) and it began breaking up my underglaze designs. And to add insult to injury, I used a hybrid clay mix that probably also contributed to my woes. The clay body and the glaze probably did not have compatible shrinkage rates. This is all I have to show for a month’s worth of work and some of these pieces are refired.

At the same time, I was getting used to my new (old) full-sized kiln. Big learning curve after firing for a year or so in a small test kiln. It took me some research and three firings to finally get the temperature even throughout the kiln.

So now I need to test and retest a new batch of majolica on white stoneware in the correctly firing kiln. And so go the trials and tribulations of a still learning potter.

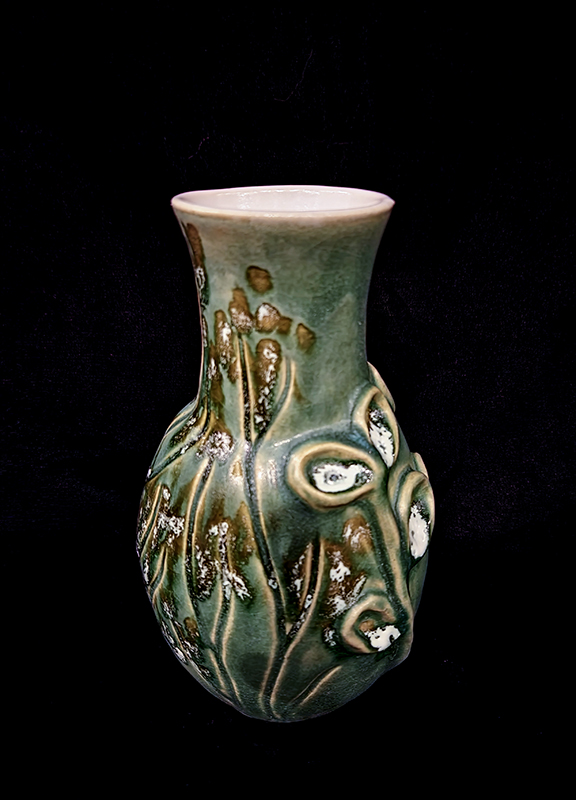
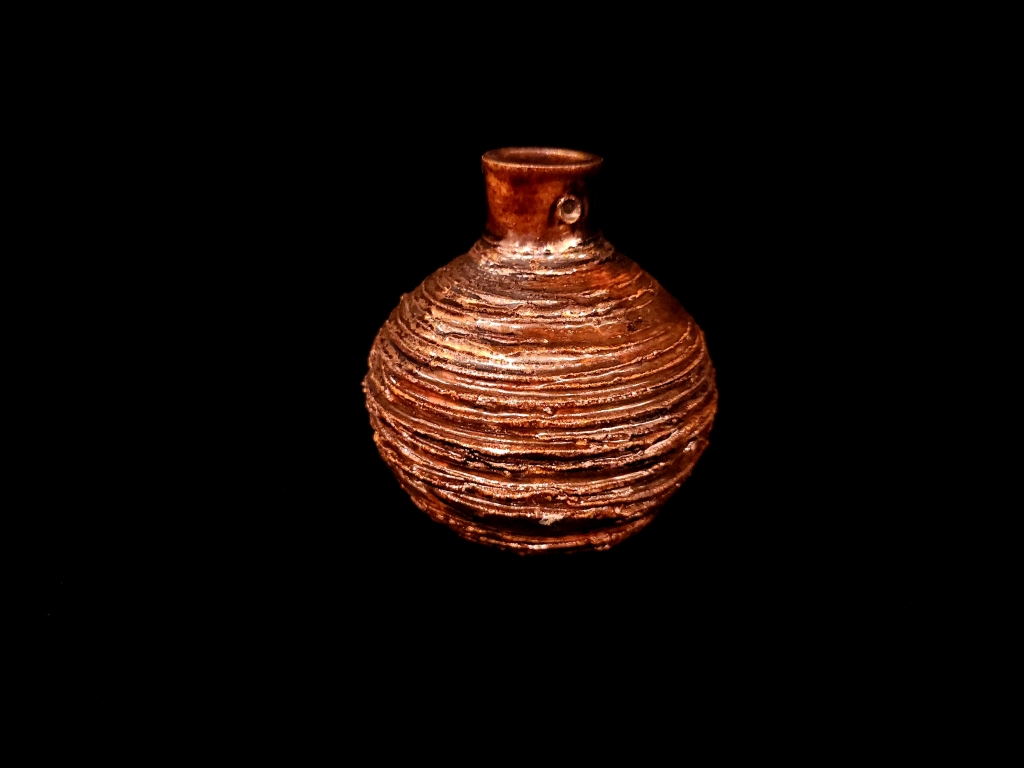
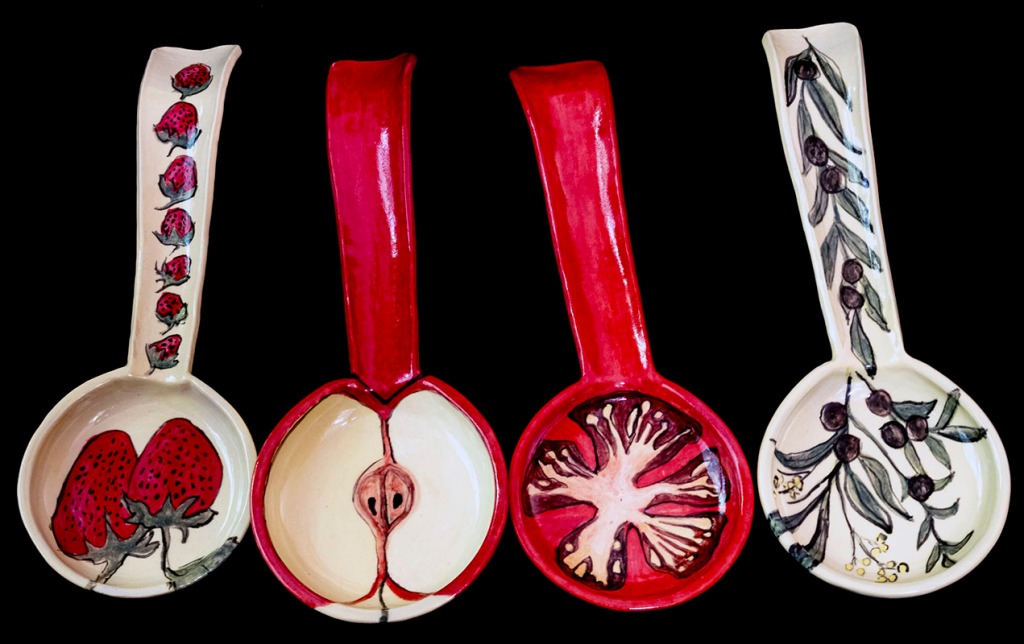
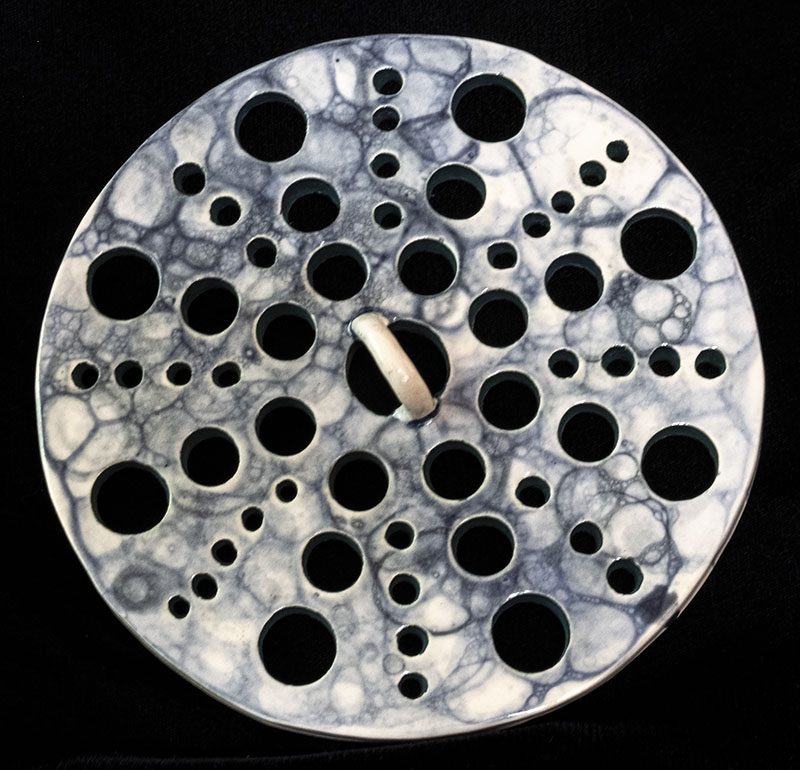
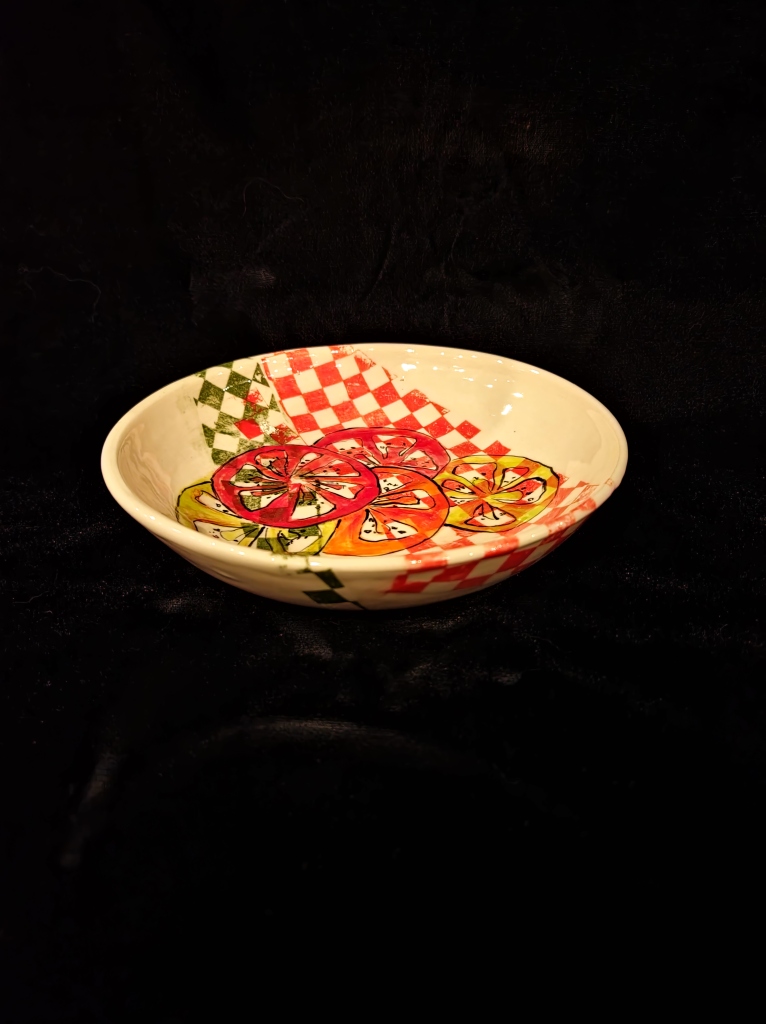
What we have here are three pasta bowls, two herb stripper bowls, and a vase. Back to the wheel, although I may do some refiring of five other pasta bowls and a couple of other things. At the very least, they will serve as heat absorbing chunks of clay for new work placed nearby.

Sneak Peak: Majolica Madness

I’ve been busy preparing for two shows and a class. The majolica bug has bitten me. I’ll come back later and show many more works with accompanying explanations, but for now I just want to show off one more in my continuing line of lemon-themed pieces and the latest: watermelons.

In the meantime, I and 54 other potters will be participating in the Montgomery Potters’ second semi-annual 2-day tour and sale at 12 locations across Montgomery County, Maryland. If you are within throwing distance, come on over! Saturday and Sunday, October 2 and 3, 10 a.m. to 3 p.m.

Test Glazes on Bowls

My focus this year has been to create and test glazes I can use on my ceramics moving forward. It’s time-consuming and challenging, but oh so rewarding when they work and look good.

I made these little bowls for a class last year and they have proven to be great test pots for my glazes. The clay is what I call “garbage” clay–most likely reclaimed stuff we were given to work with in class. It’s not what I’d call great quality (including body color), but they do for initial glaze testing. I start with glaze formulated for cone 6 (mid-range, oxidation firing) on small non-good-quality porcelain test tiles. Once I get a test tile result I’m happy with, I move on to a test pot.

Here are a few of my first successful tests. On the top left bowl has a color I named “Turquoise Stone”; the inside is “Campania Clear, Semi-Matte.”  The top left showcases “Petal Pink”; the inside is “Kitten Clear, Revised.” The left middle bowl shows off “Maroon Pink”; the inside is “VC Transparent Clear, Revised.” The middle right bowl sports “Gray Pink”;  the inside is “Clear #1.” And the bottom bowl features my tenmoku-like “Coffee”; the inside is “Clear #2.” If I decide I want to move on with these glazes, I’ll eventually need to have them tested for food safety, although the chemistry of each indicates that they are. I’ll also need to test on a variety of different clays.

The Shady Nook Bowls

I think I have finally finished all of the pots I made while at Shady Nook, NY. Here is a series of bowls that came out well. They have made their way into my kitchen and are already proving very useful. They represent my foray into making larger pots. The one with the plate is a berry bowl. I have one other berry bowl, but it is currently in a show at the community center.